Altox-Audi-A4
Report of Our Customer on the Installation of ALTOX EBUS-5 GPS GSM Module to Control the Eberspärcher Parking heater on Audi A4 B8

Introduction
As the remote control of my car does not take the distance from my company to the parking lot I was quite a while locking for a suitable GSM module to control the auxiliary heater of my car. I really appreciate the comfort of a pre-heated car and don’t want to miss it only because the range of the remote control that was delivered with my car is much too short.I was very happy once I found the Altox module on the internet that can manage this task and also provides additional features that makes that ALTOX GSM module real unique.
Not to mention that there are a lot of GSM modules for starting an auxiliary or pre-heater with a mobile phone, ALTOX is the only one that is equipped with GPS/GLONAS that allows you the tracking of your vehicle. The Altox module is also able to communicate over the internet per the app ALTOX HEATER that allows you to control all the functions like start and stop of the heater. Additionally, you can set up a time schedule for starting and also can track your car on a map.Besides all that stuff above the Altox module is the only GSM module that allows you to read possible errors of the heater and also delete them. This is usually only possible to arrange with additional hardware.
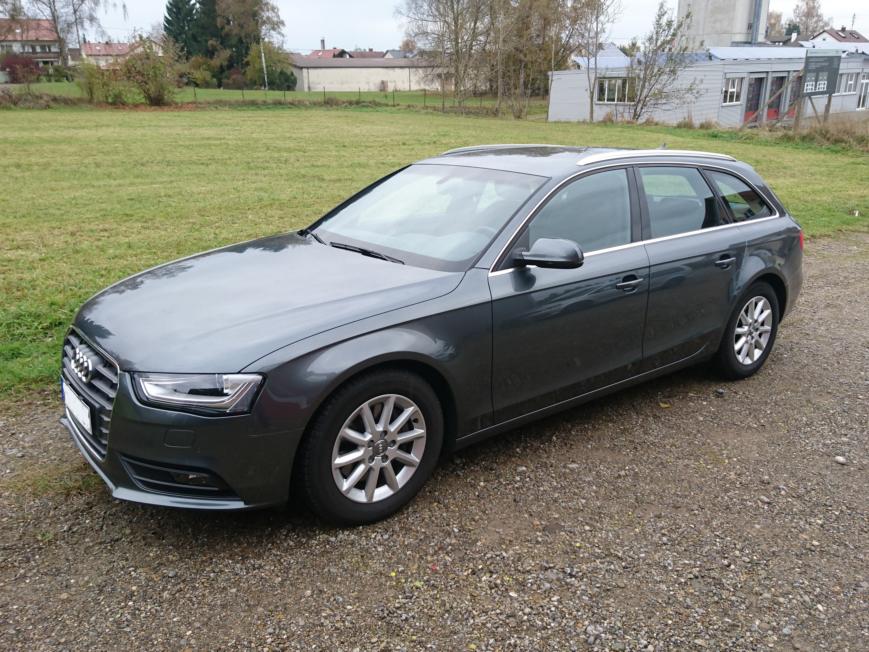

The installation of the ALTOX E-Bus 5 GPS module is quite simple, especially if you already are already equipped with a standard remote control. (for example AUDI Part Number 8K0 963 271) In that case the installation can be done in less than 30 minutes.As the Audi A4 I ride already is equipped with a remote control I was very happy because I have the control unit for the remote in the trunk. Here you can already find the yellow wire together with 12v+ (30) and ground.The Audi is equipped with the Eberspärcher Hydronic II pre-heater that is controlled via the e-bus.
Installation (Cable Assembly)
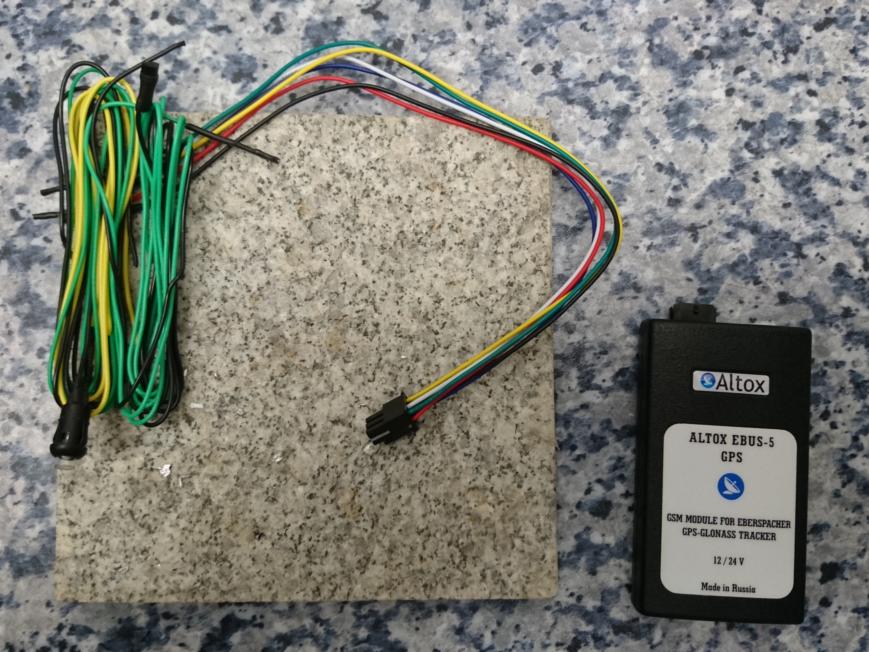
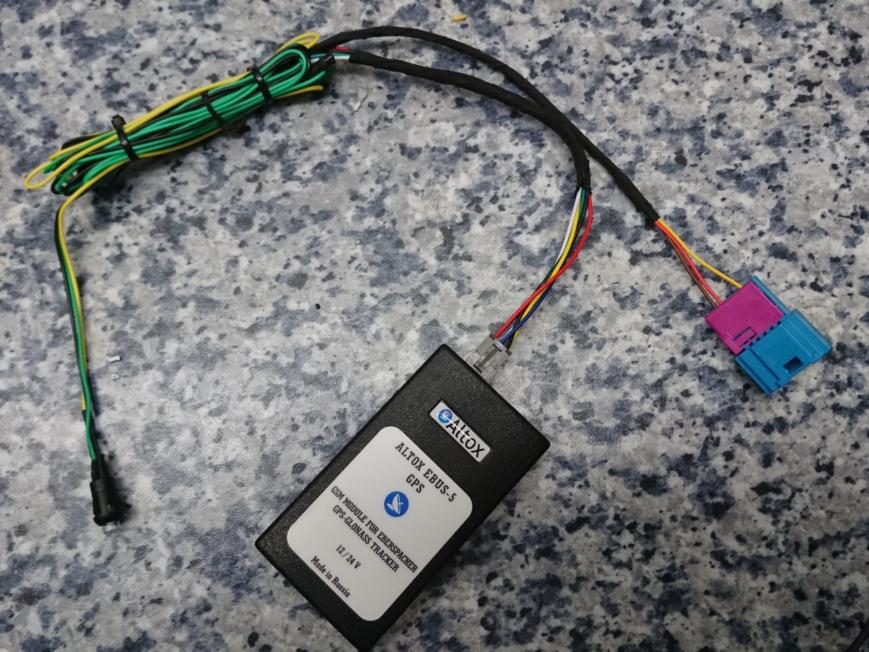
First of all, I would like to thank Alexey and Thomas from Altox. They supported me in a way that was really great during installation and testing.This is the content of the package that is required for the following work.As I did not want to change any wiring back from the standard of Audi I bought the connector that fits onto the original connector that was plugged into the Audi remote control of the auxiliary heater.I wanted to assemble an adapter that I can use to connect the Altox E-Bus 5 GPS, that makes the module plug and play.
First work a had to do was to arrange the wiring of this adapter. Also, it is not necessary, because you can also start the auxiliary heater via the Audi multimedia interface, I connected the button with LED that was included in package. Additionally, I also installed the temperature sensor that was included in the package.
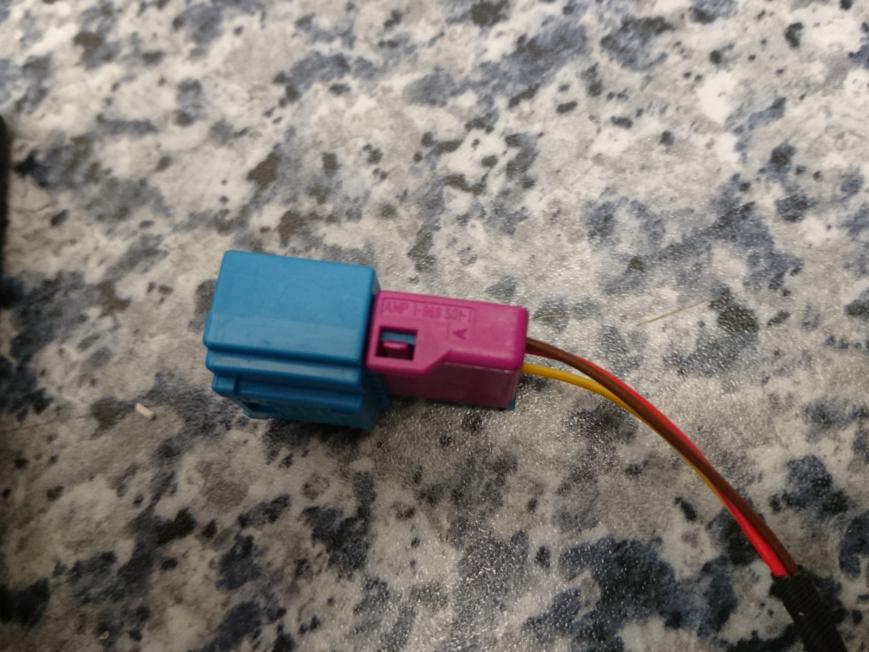


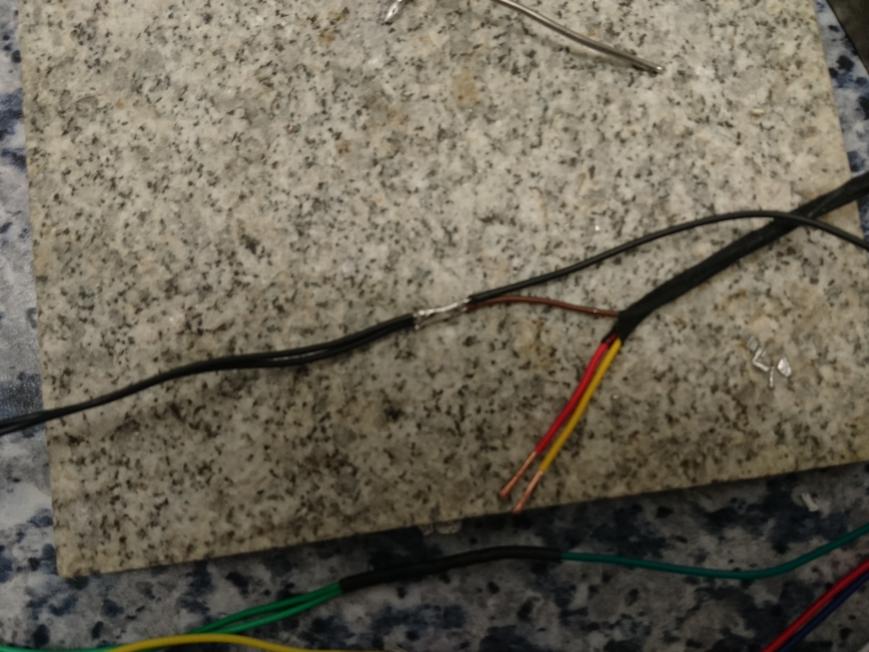
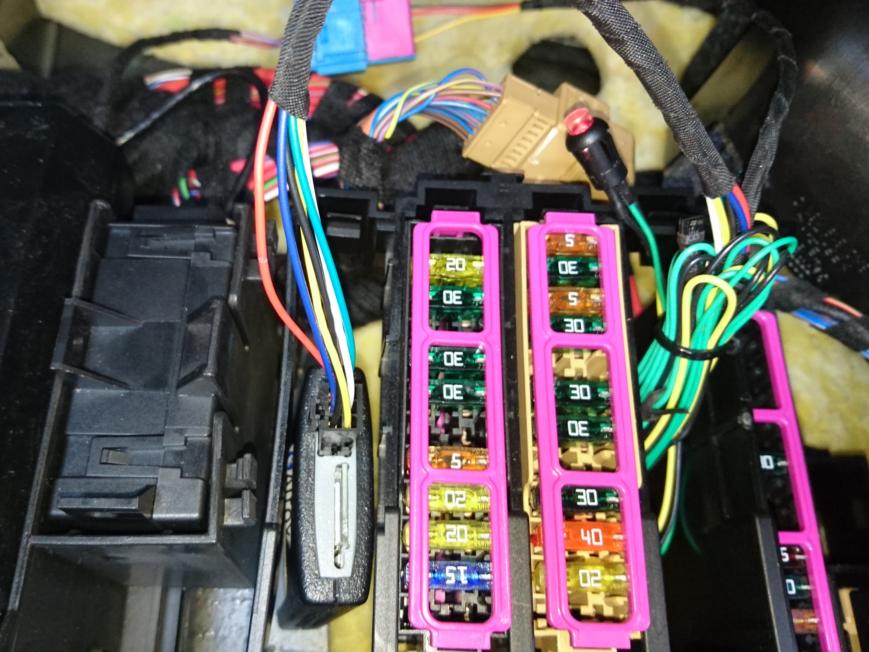
The plug you need to directly connect to the plag that is existing in the car can be bought at every VW or Audi shop.At the Audi connector, the pins 1, 2 and 5 are to be connected as following:Pin 1: Ground (black or brown - clamp 31)Pin 2: 12V+ (red – clamp 30)Pin 5: E-Bus wire from the Eberspärcher Hydronic II (yellow)In the connector, you can pin the wires and get a pre-assembled cable.
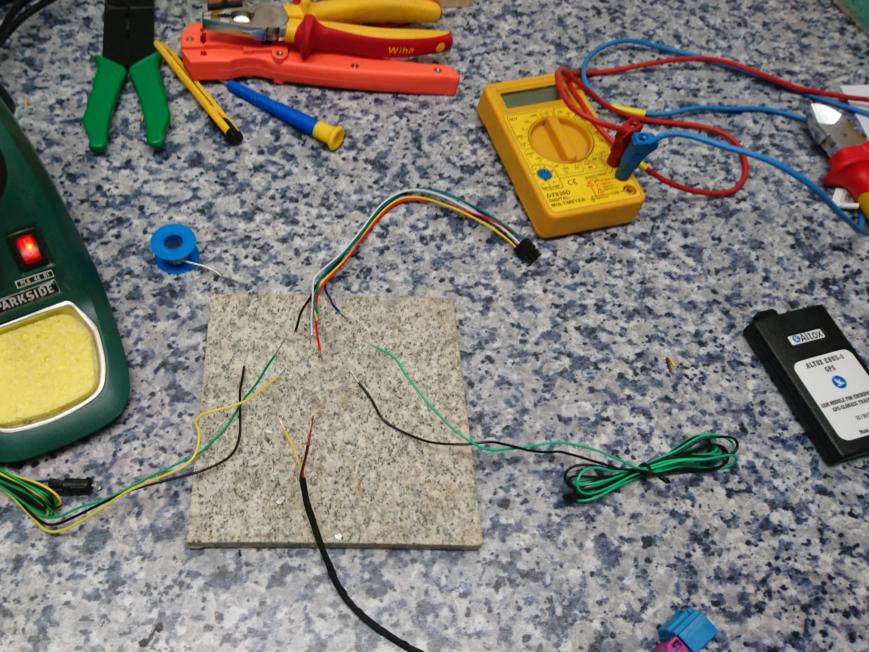
Now you can start to connect the wires of the per-assembled cable to the cables that have been included in the package.I had to braze the pin 1 of the Audi Plug (Ground) to the Pin 3 of the Altox E-Bus 5 GPS module.The pin 2 of the Audi (12V+) plug is to be connected to the pin 1 of the Altox module. It’s the red wire.The pin 5 of the Audi connector is to be connected to the blue wire of the Altox connector that is pin 2 at the Altox module.These are the wires that are to be connected to use the main functions.
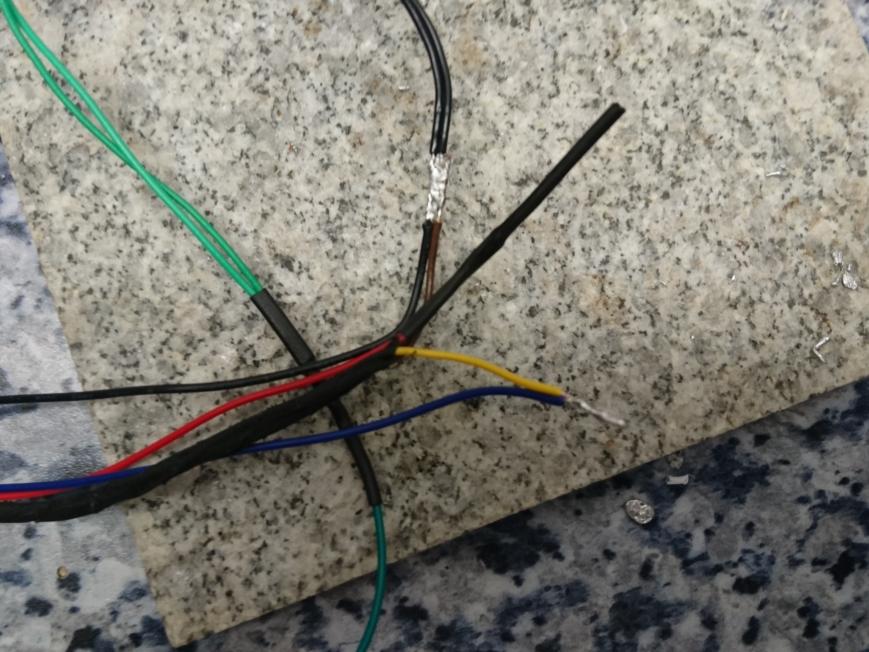
In order to connect the temperature sensor and the button with LED that had been delivered with the module you have to connect the following.Black wire of the temperature sensor and black wire of the button to the has to be connected to the ground, pin 3 of the Altox module.The green wire of the temperature sensor and the green wire of the button is to be connected to the Input IN, pin 4 of the Altox module.The yellow wire of the button with LED is to be connected to the pin 6 of the Altox module.
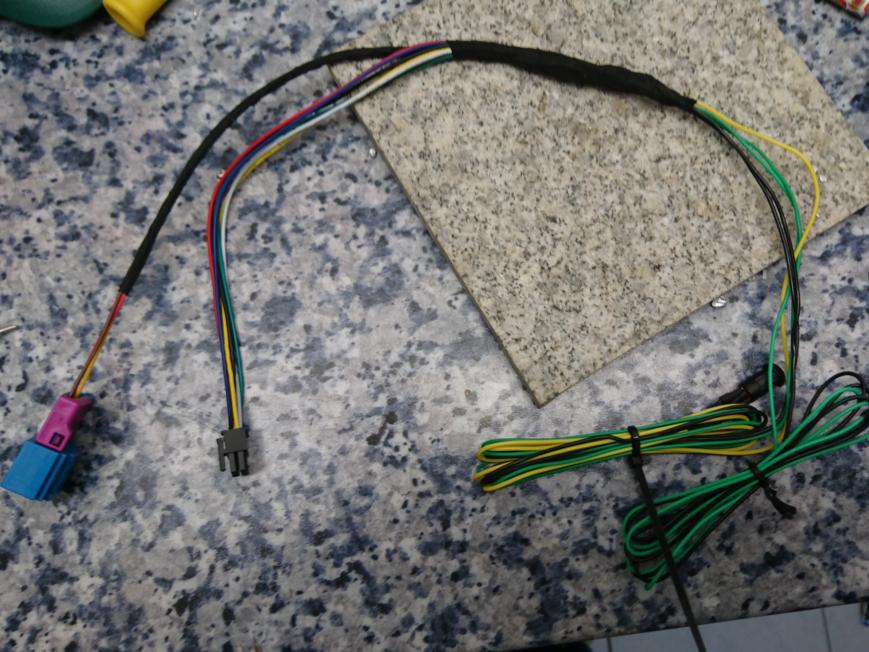
Now we are done with brazing.I applied a shrinking hose at every brazing point to realize a good insulation.Afterwards I additionally applied tape for wiring harnesses because I do not like single wires lying around in the car.This is the completed adapter-cable that is now ready for the connection of the Altox module to the car.
Installation (In the car)
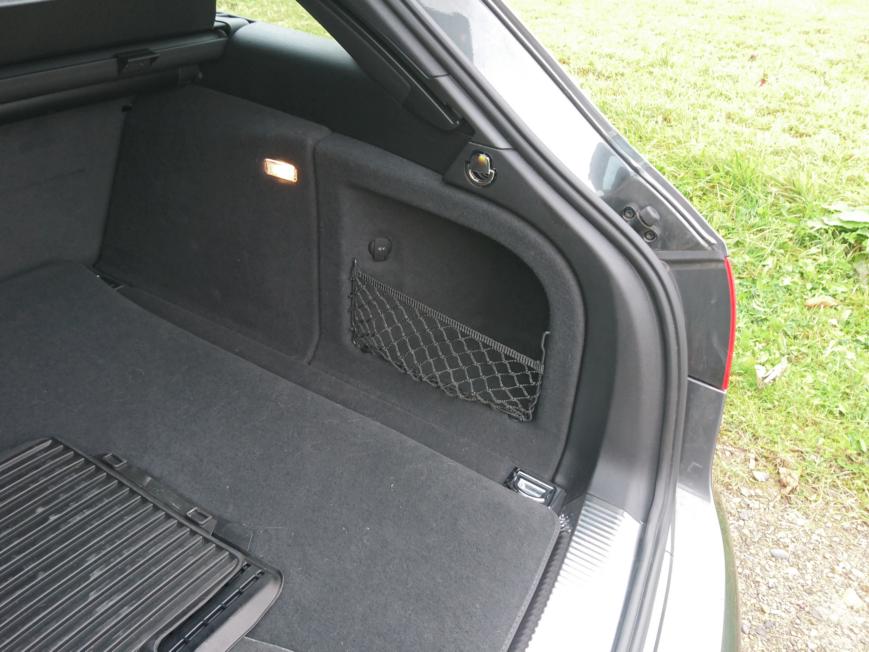
In the Audi B8 the best location for the installation of the GSM module is in the left side of the trunk as here the original AUDI pre-heater remote control is located that brings all the required wires for the installation.
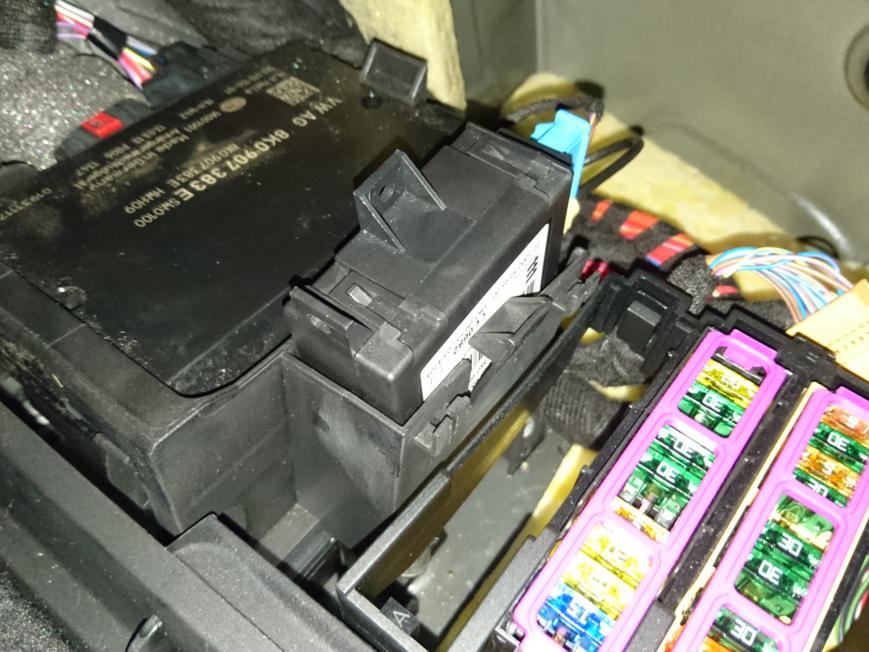
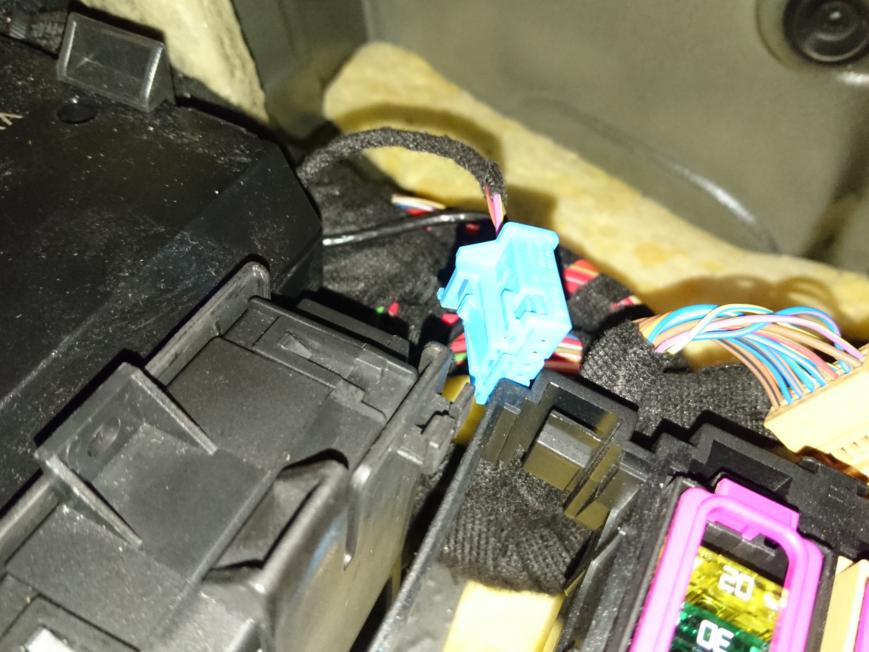
Behind the cover with the tray you can find the origin AUDI remote control is located in of the slots. First you have to remove the cover, but be careful, because to the cover a 12V plug connector with a quite short connection cable. You can either dispatch the connector or you are careful not to damage the connector. Now you can easily locate the standard AUDI remote control by the blue colored connector. This is the connector where the Y-Cable is to be connected.You can now disconnect the plug from the AUDI remote control of the heater and plug it to the one of the Y-Cable that was made before.

The module itself fits perfect into one of the free slots next to the original remote control of the pre-heater.That’s all for me because I only need the button for testing and the temperature sensor is in a perfect location in the trunk.If required, you can also install the button into the cover of the trunk. I didn’t do it because once the heater is running you can also see it in the instrument cluster.After the installation, I deleted the error in the heater unit via VCDS because it detected that the remote control was missing.
If you want the use the origin AUDI remote control in parallel you can do this also, but you have to use a relay in between that separates the signals of the origin AUDI remote control and the Altox heater because otherwise the Audi remote control and the Altox module would interfere.If your Audi is not equipped with a remote control you can also revamp your heater with the Altox module. The heater is located beyond the right front wing. In that case you have to connect the blue wire of the Altox module directly to pin 6 of the plug of the heater. GND and 12V is to be connected and you are ready to go. In difference to a car that is already equipped with a remote control you need to adjust the heaters ECU. In the Audi A4 it is the ECU 18 where you have to change bit 6 of byte 1 and bit 0 of byte 2.
Setting up the module
Now you can just set up the module as described in the manual. Don’t forget to disable the pin request of the sim card!At first I set the module to default and the error control to 0, that sets the permitted numbers of errors to 0.Afterwards I tried the to start the heater via sms and I firstly was surprised because only the ventilation started. After some reading I realized that this is the normal operation of the Eberspächer heater in in an Audi once the temperature is above 15°C. Below 15°C the heater turns on as it is expected.

Once the heater is started you have to options to check if everything went well.First is the Audi instrument-cluster where you can see the heater symbol blinking now.Second one is the red light of the button that is connected to the Altox EBUS 5 GPS module.

After a while that the heater is running additionally the ventilation control turns on and the ventilation is being started. Above you can see the button with the activated LED.
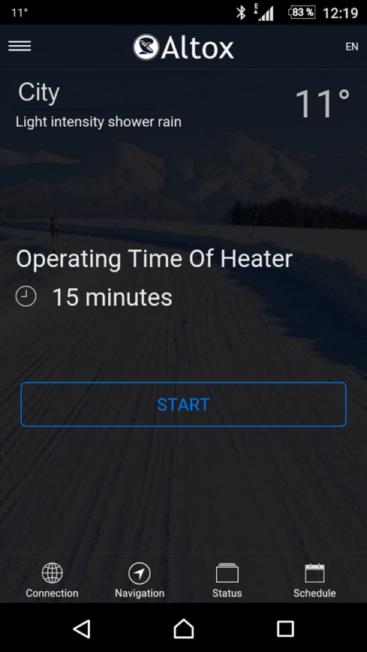
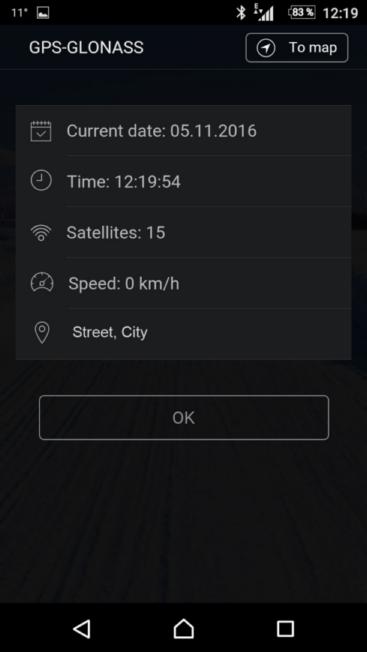
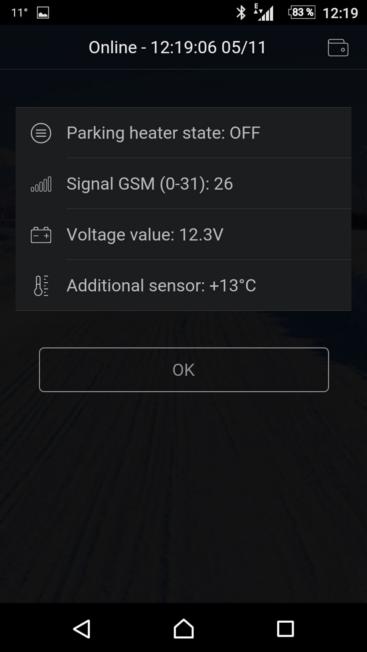
As this all went well you also can now setup the APN settings to control the module over the internet or the ALTOX Heater app (ANDROID / IOS) or the Altox websites heater app. In order to bring the module online you need your APN, your login and the password.With the Heater APP you can control all features of the module including the tracking, what makes this module really great. To use all functions of the Heater apps you have to register with an E-Mail address at altox.ru/app. Afterwards you can login to the app with your modules ID your mail address and your password.If you only want to control the module only via sms in order not to pay for a data plan you don’t have to register to the app.
Summary
Summarized I am really happy that I decided to go for the Altox E-Bus 5 GPS module.The installation was quite simple. You even don’t need any tools despite an electric soldering iron.Now I am able to:- Start the pre-heater of my car from my desk and don’t have to worry about the distance- Start the pre-heater via mobile phone- I can track my car online on a map or via SMS command- Can use the diagnostic feature to see if there is any error at the heaterI really can recommend this module as I provides you with so much nice and really comfortable features.