Altox-PassatB6
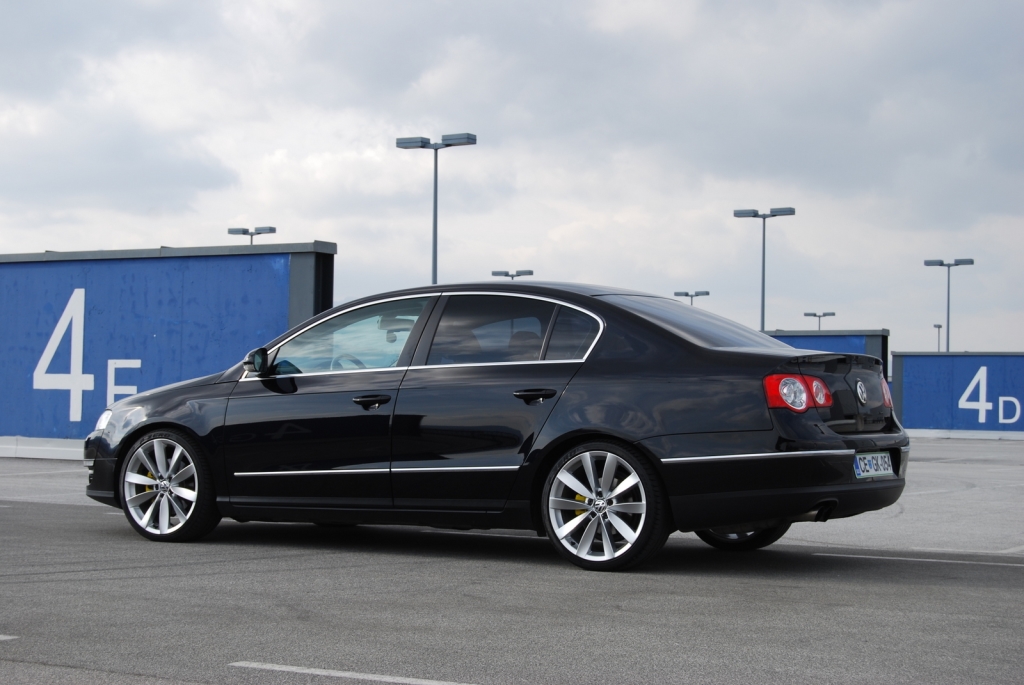
Report from our customer on the installation of the Altox Wbus-4 GSM module to control Webasto module in Volkswagen Passat B6
Hello everyone!
This photo report covers the upgrade and revamp of the default Webasto auxiliary heater for a Volkswagen Passat B6 into a full-featured starting pre-heater.Winter has come, and we had to think what to do with the default Webasto auxiliary heater installed in the car. There is an auxiliary heater ТТ-V in the car and we wanted to increase the level of comfort without spending too much money.Researching the topic of upgrading of the default auxiliary heater into a pre-heater uncovered a few common methods of such upgrade.
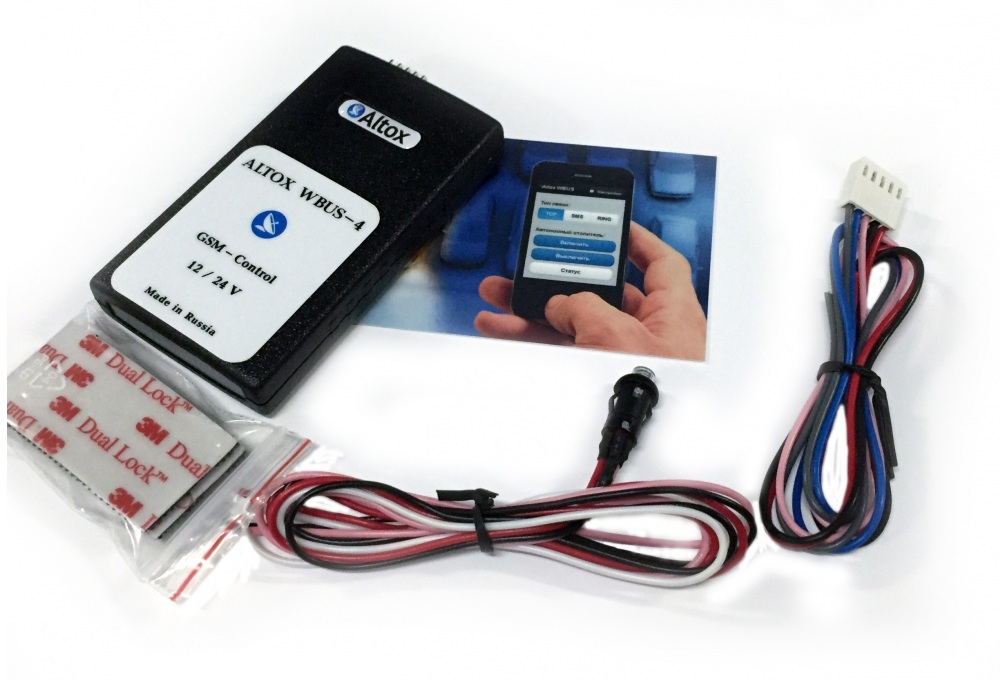
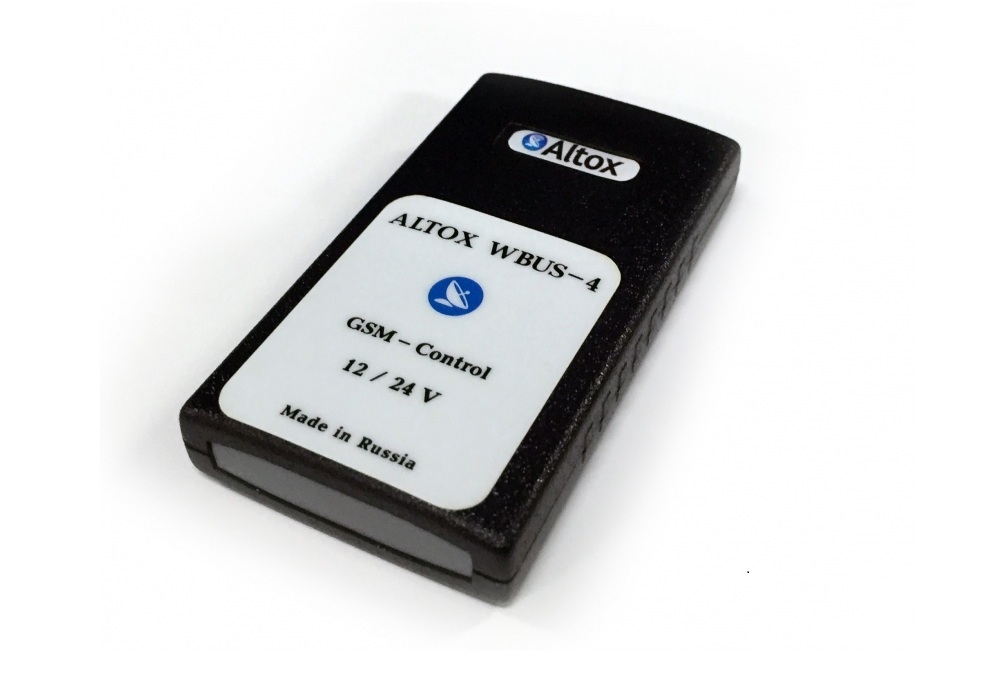
The module is purchased and here is the content of the set:- The module;- Wires for connection;- LED button to switch Webasto module on and off. It turned out to be very convenient, because when you get into the car before Webasto module finished working, you don't need to get a phone and switch the module off. You can just push the button. LED helps to understand if Webasto module is working at any particular moment;- Quality adhesive fastener to glue in the module;- Manual.
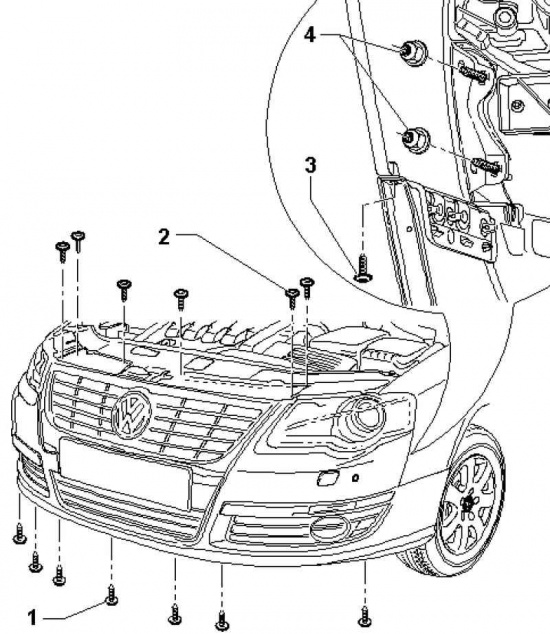
Let's get started.Before the installation, I recommend you to check the actuators of the auxiliary heater using VAG-COM because there might be a fault with Webasto module's pump. And if the pump is not working now, it will not work in the pre-heating mode either. Mine did not work and it was found out only before the module was installed because it did not give out any errors.The installation video is available here - YouTube1. Remove the bumper. There is no point in describing how to remove the bumper. There are many instructions on how to do that online. If someone does not know that, you can watch the video, and I will just upload this picture here.
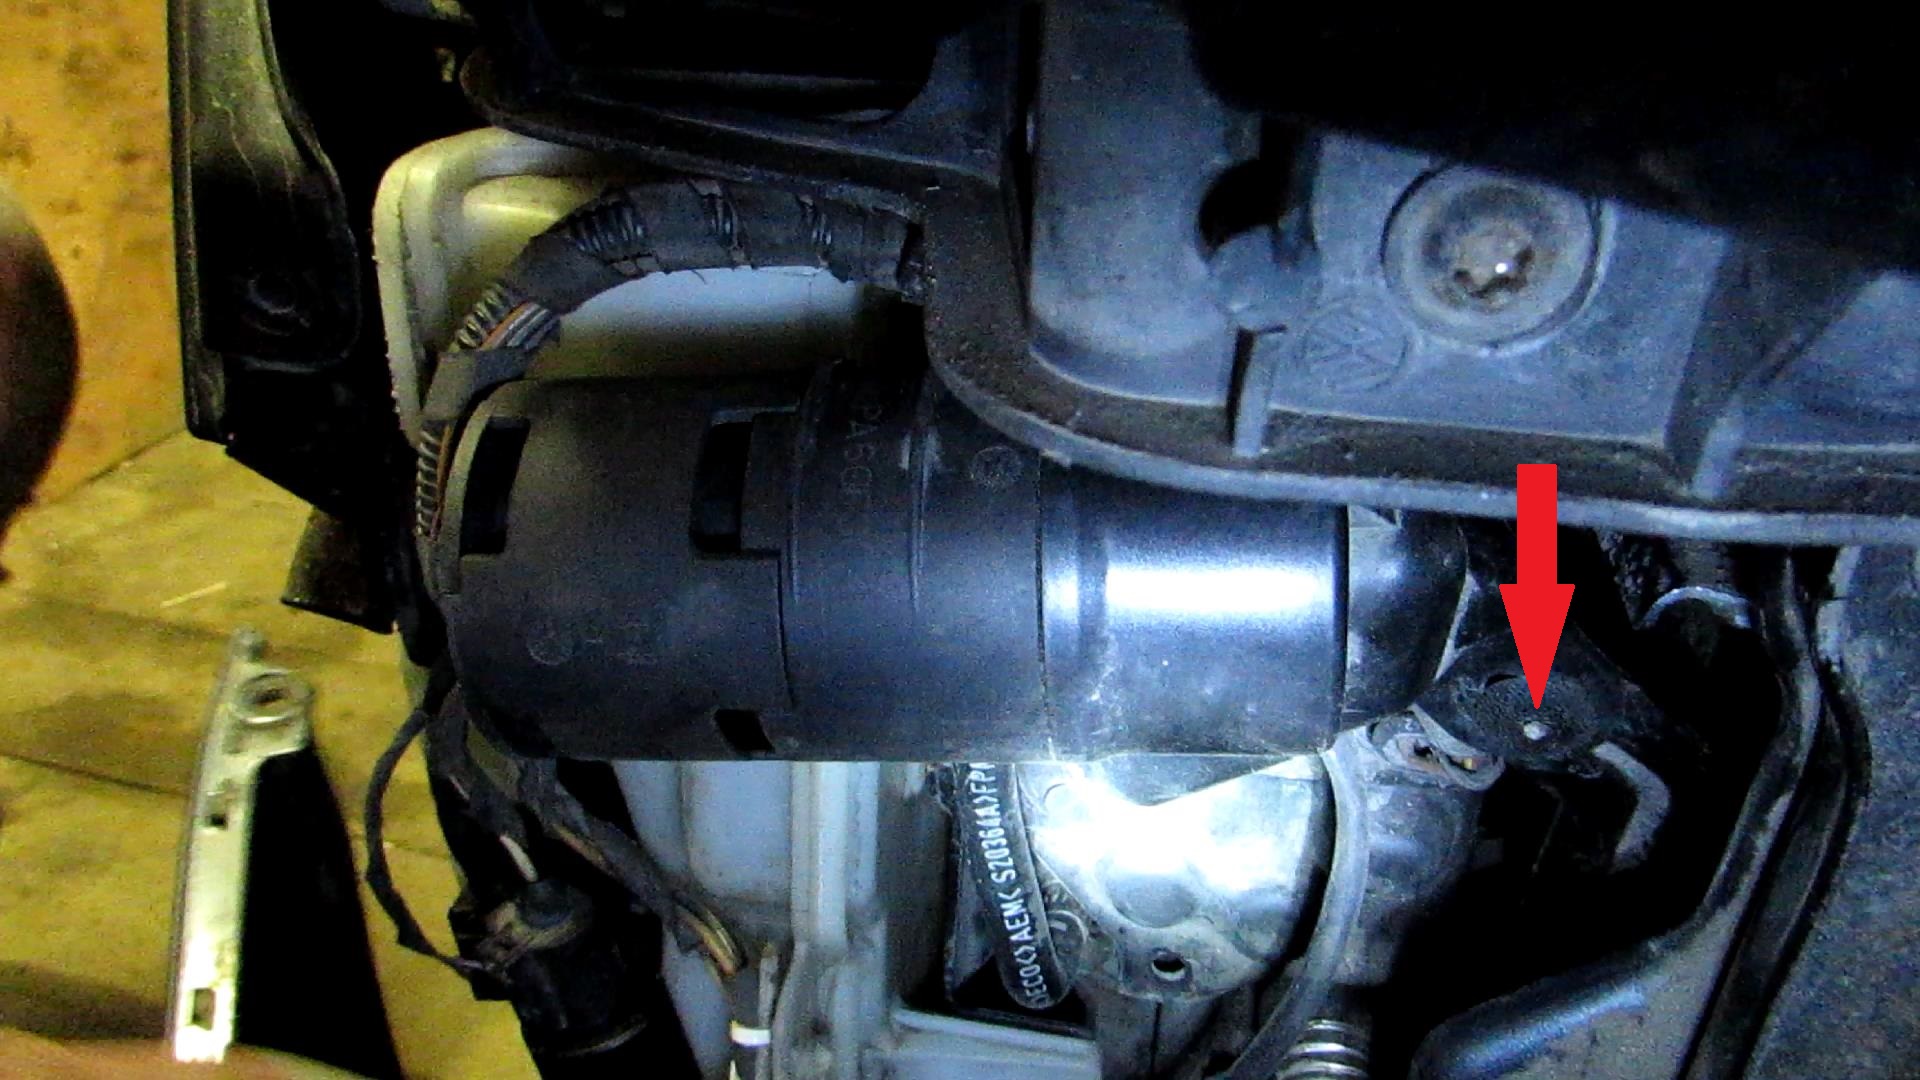
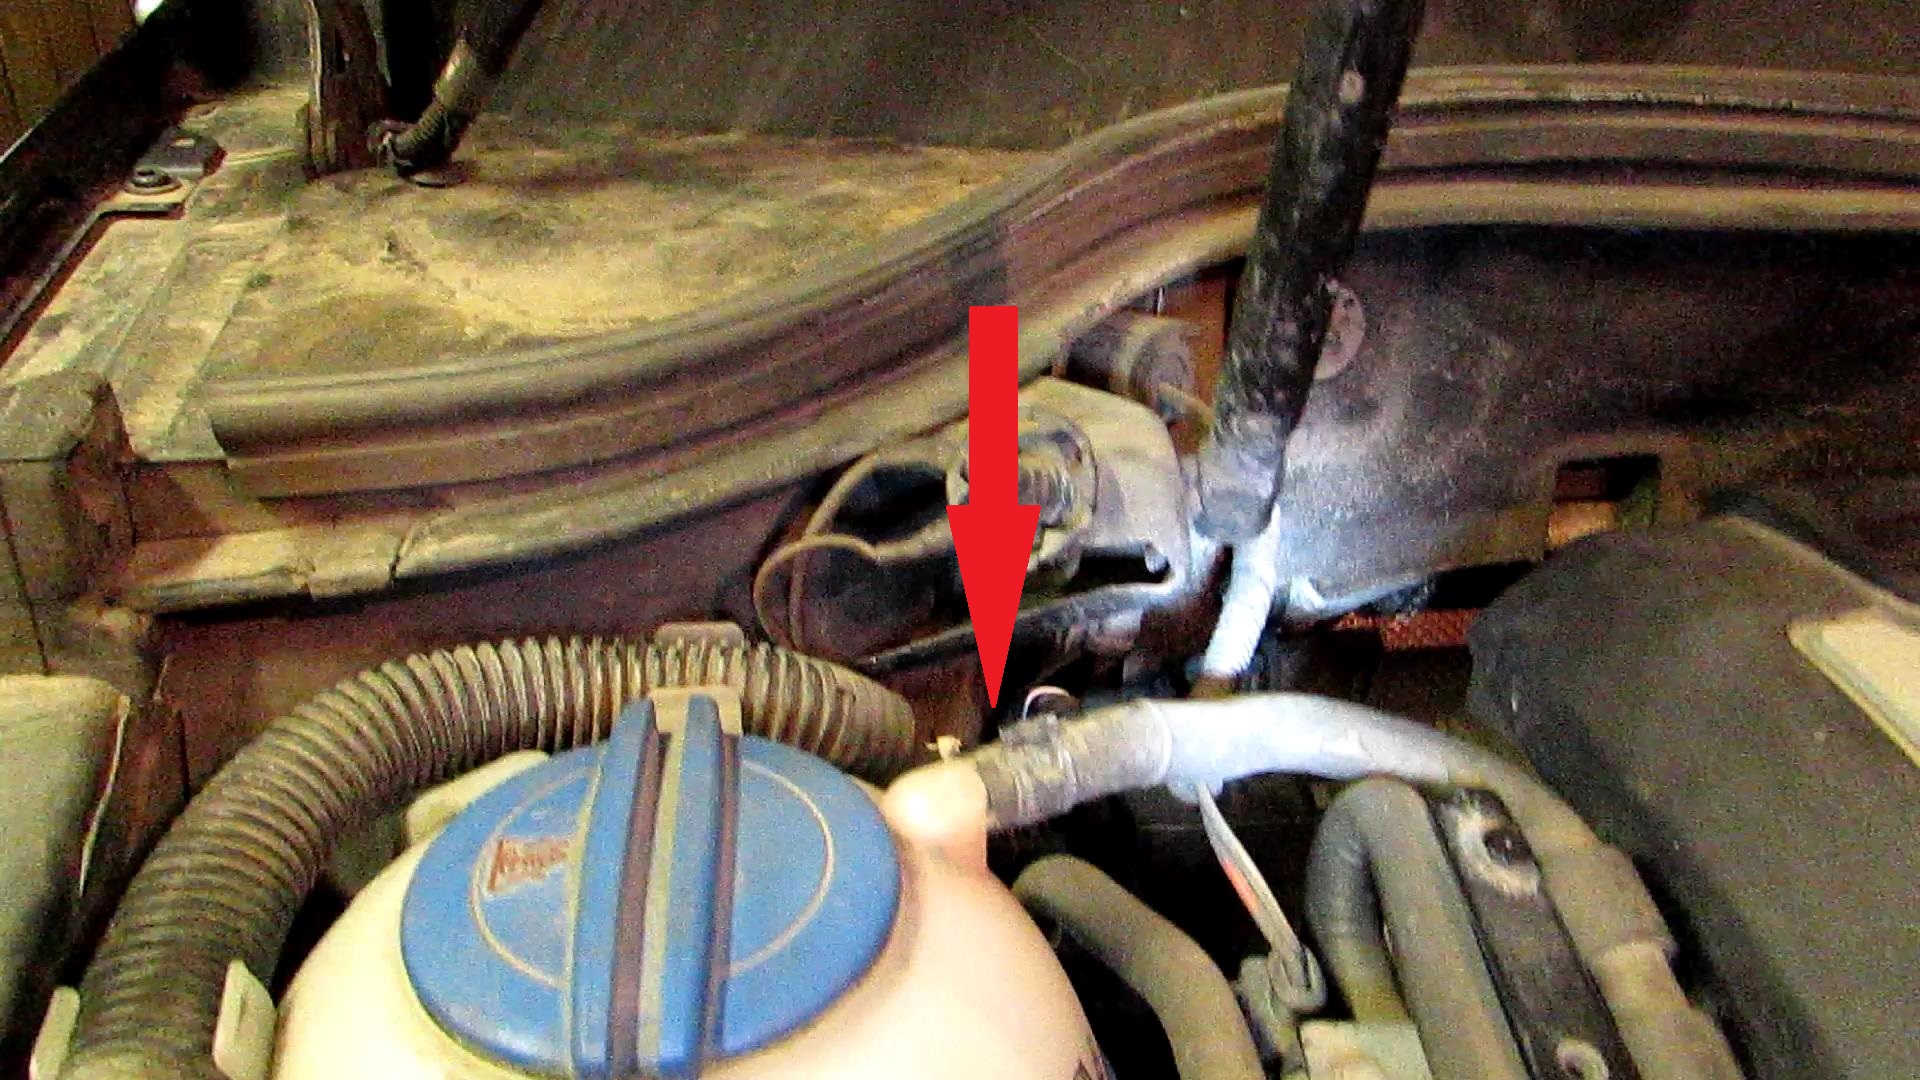
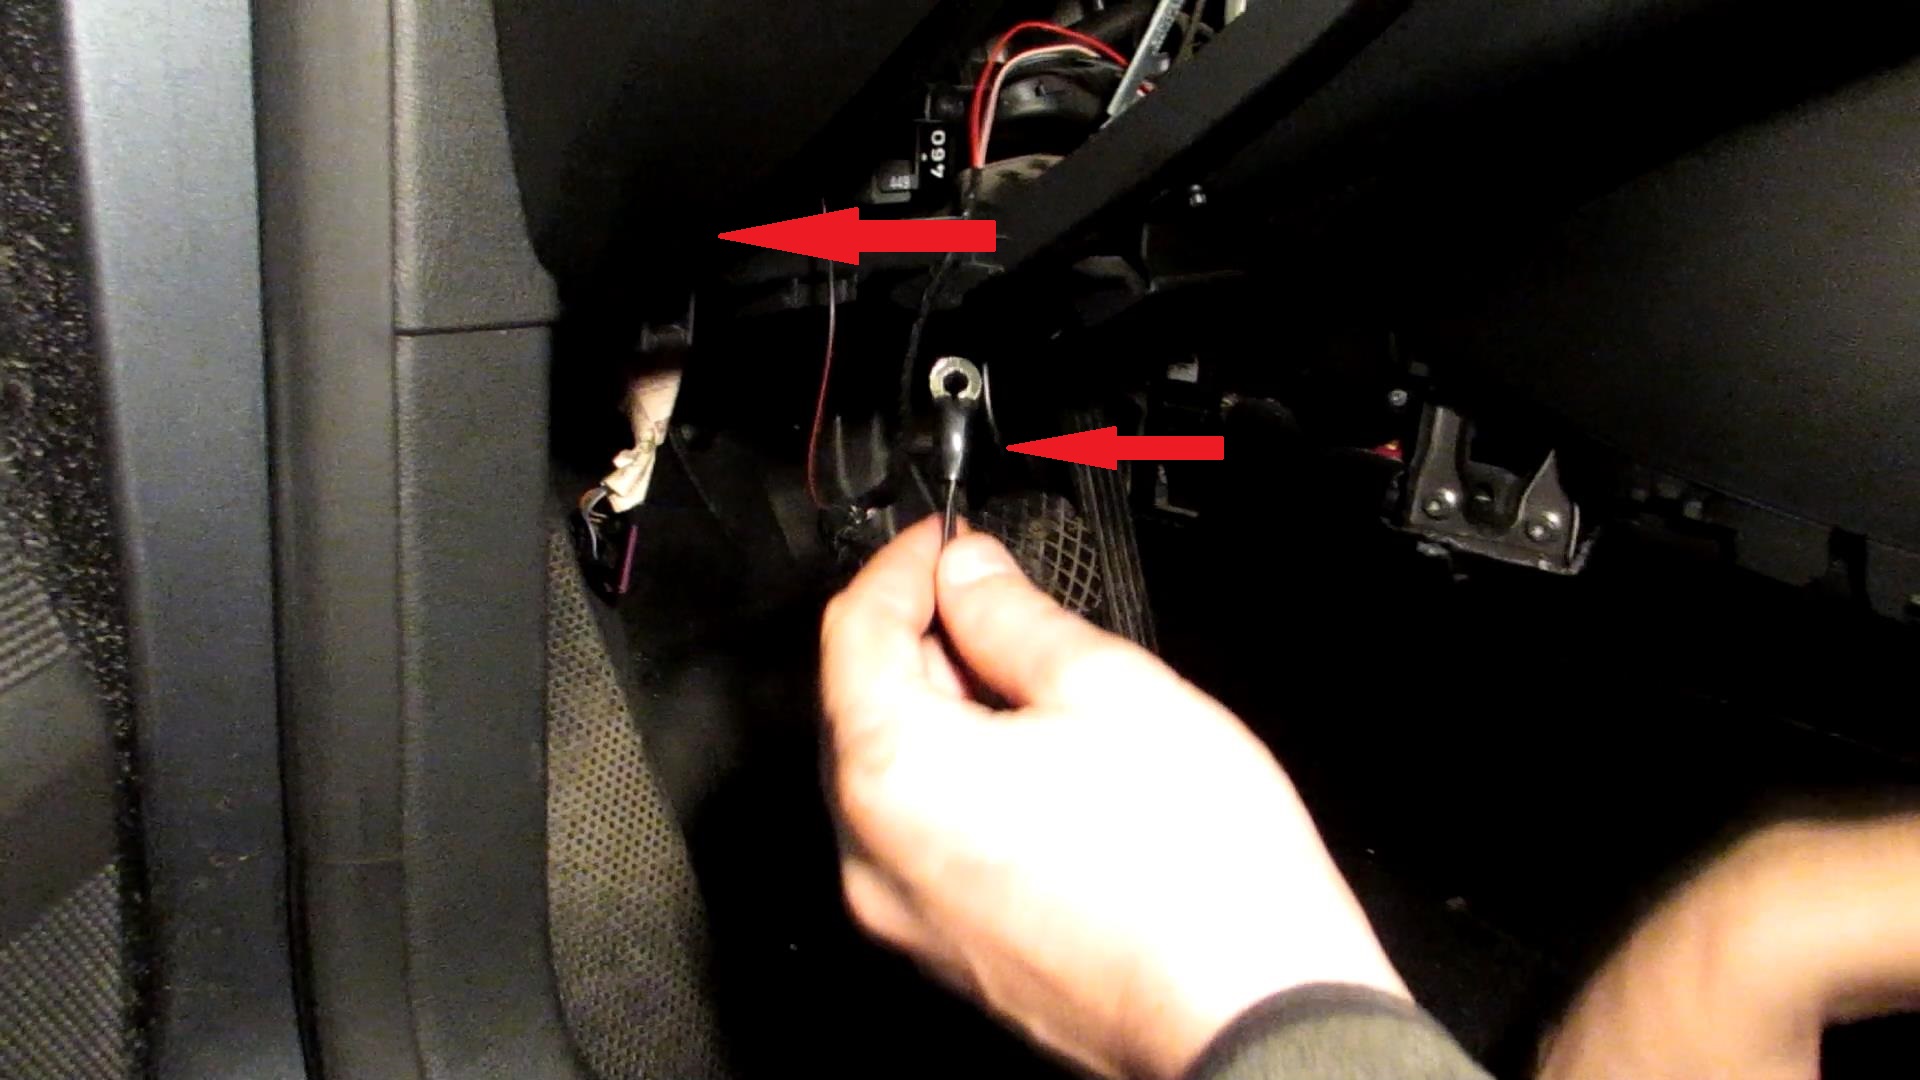
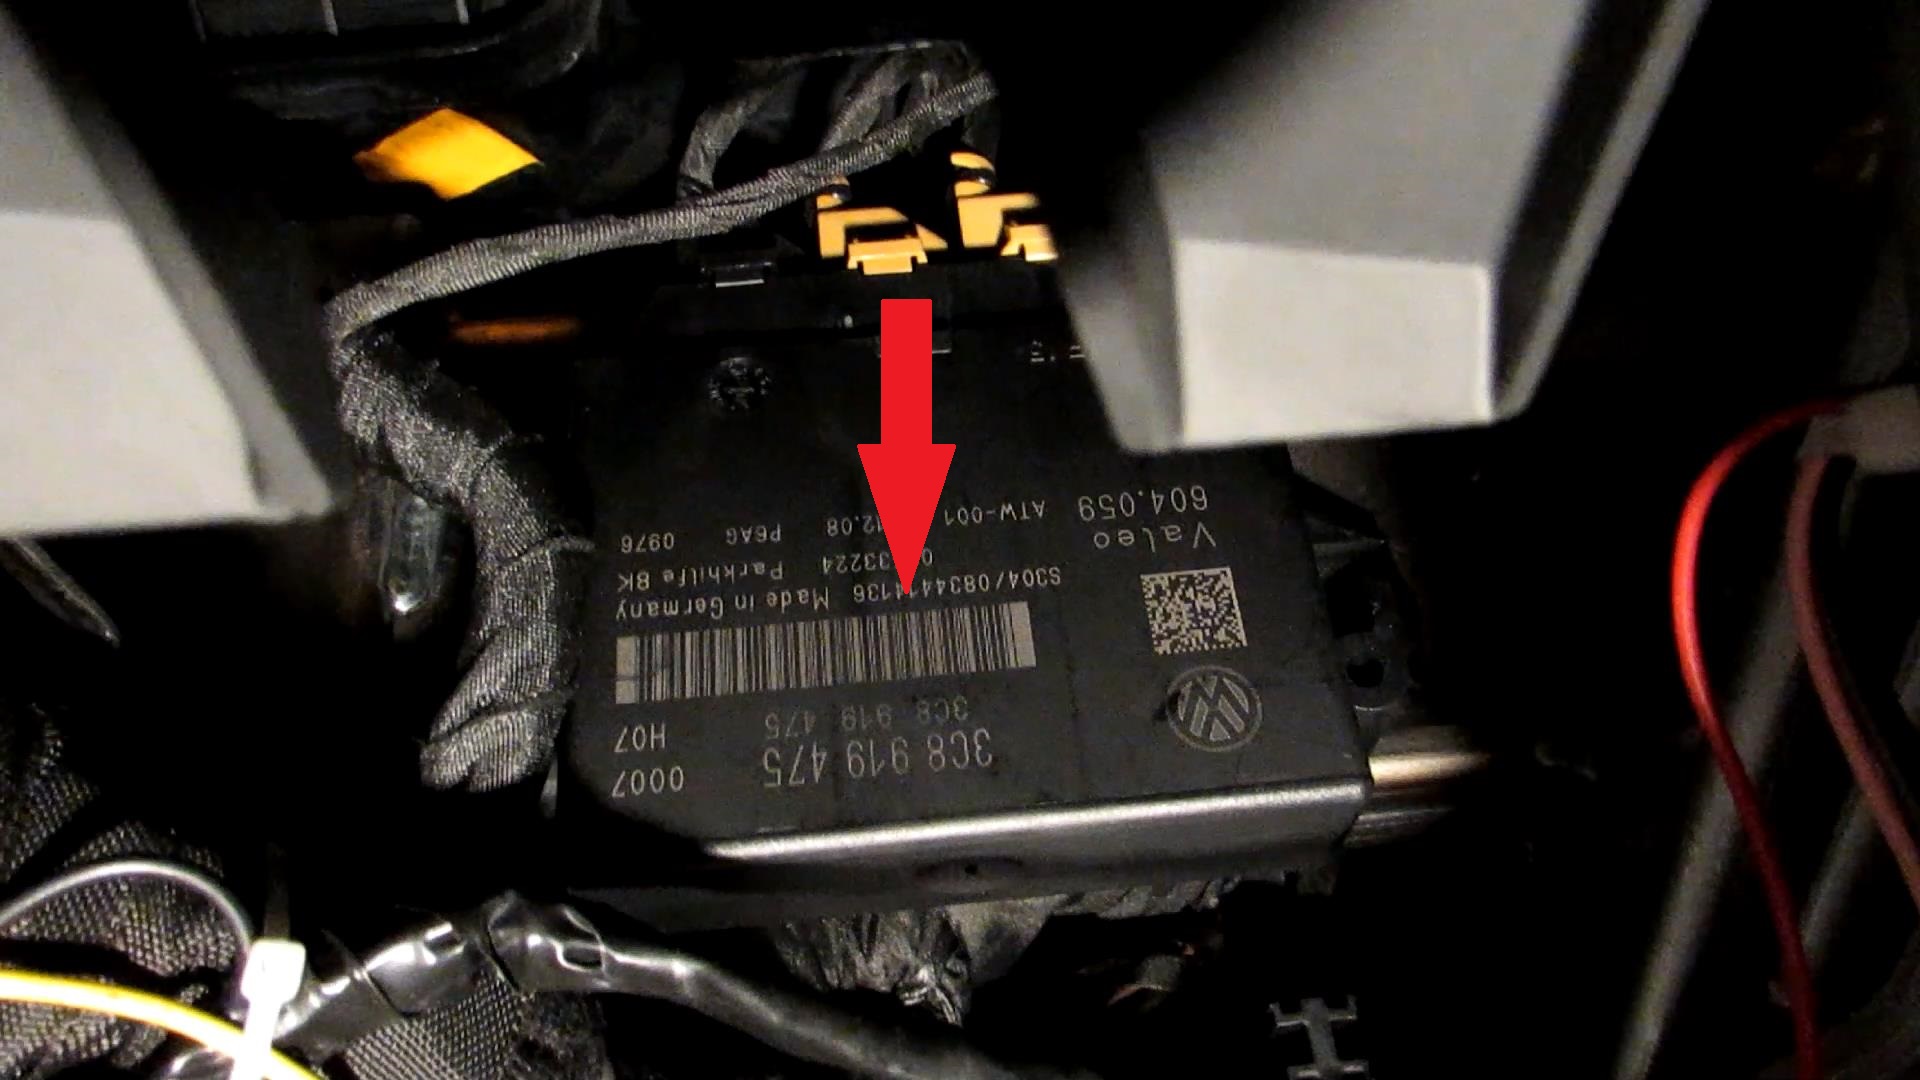
2. We see Webasto device near the washer reservoir.3. We need to get through, so we should remove the silencer.Take something thin, for example, a sewing awl and put it inside the clamp, then push the wedge out of the clamp.After that remove the clamp easily. Shift it to the left and pull the silencer up. It can be removed now opening access to us.
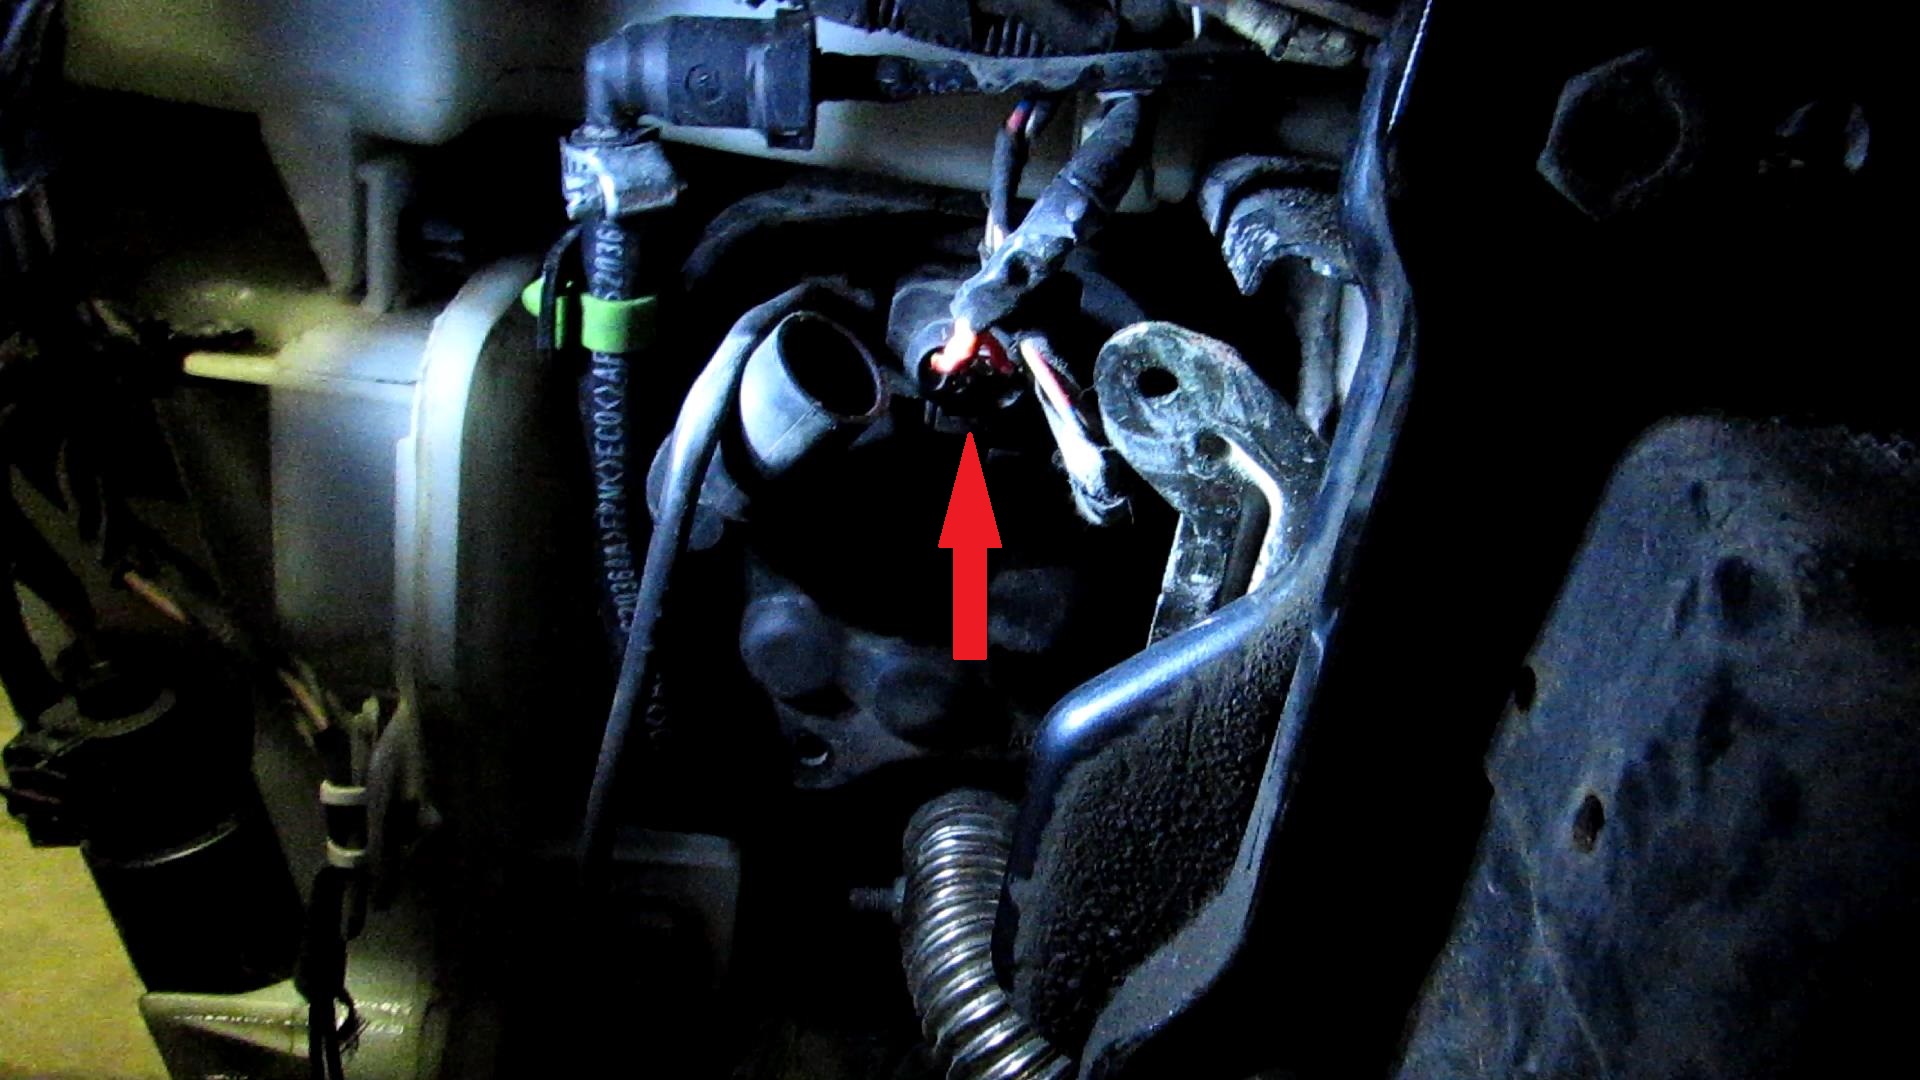
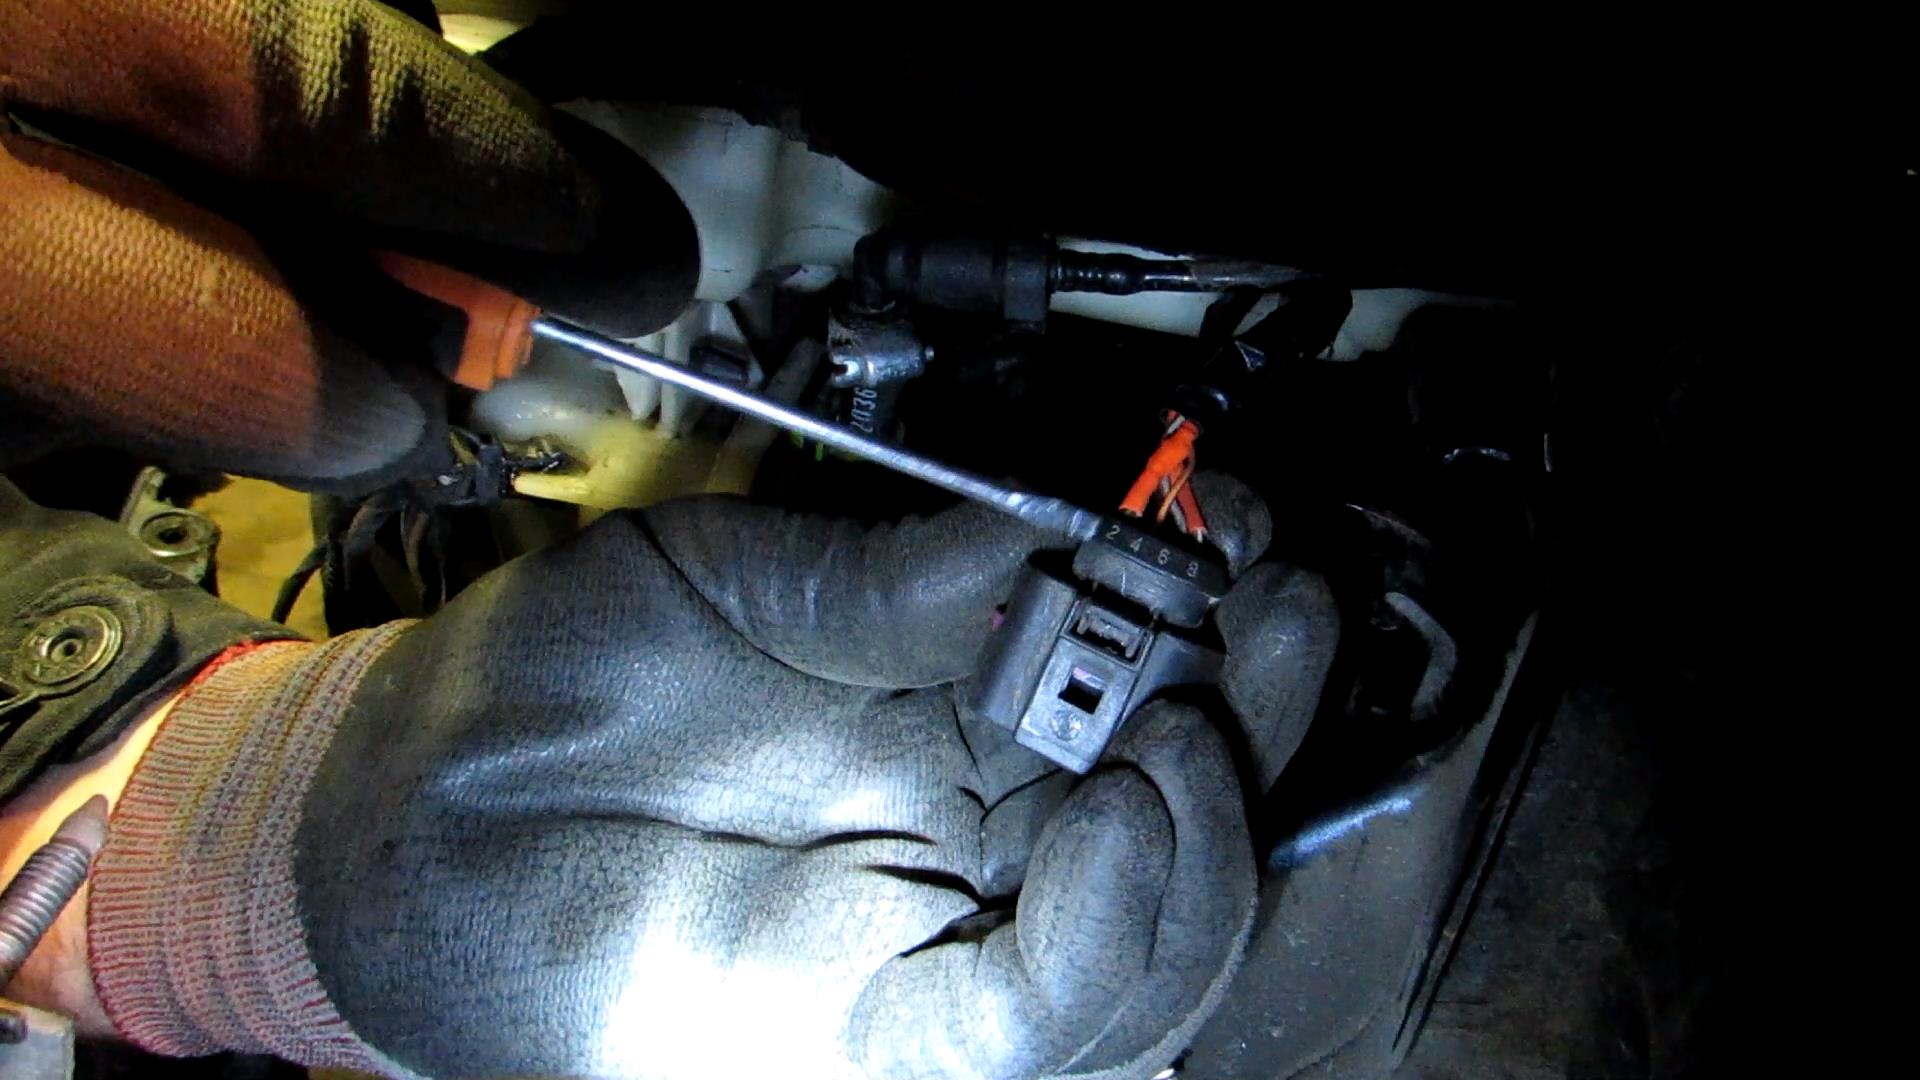
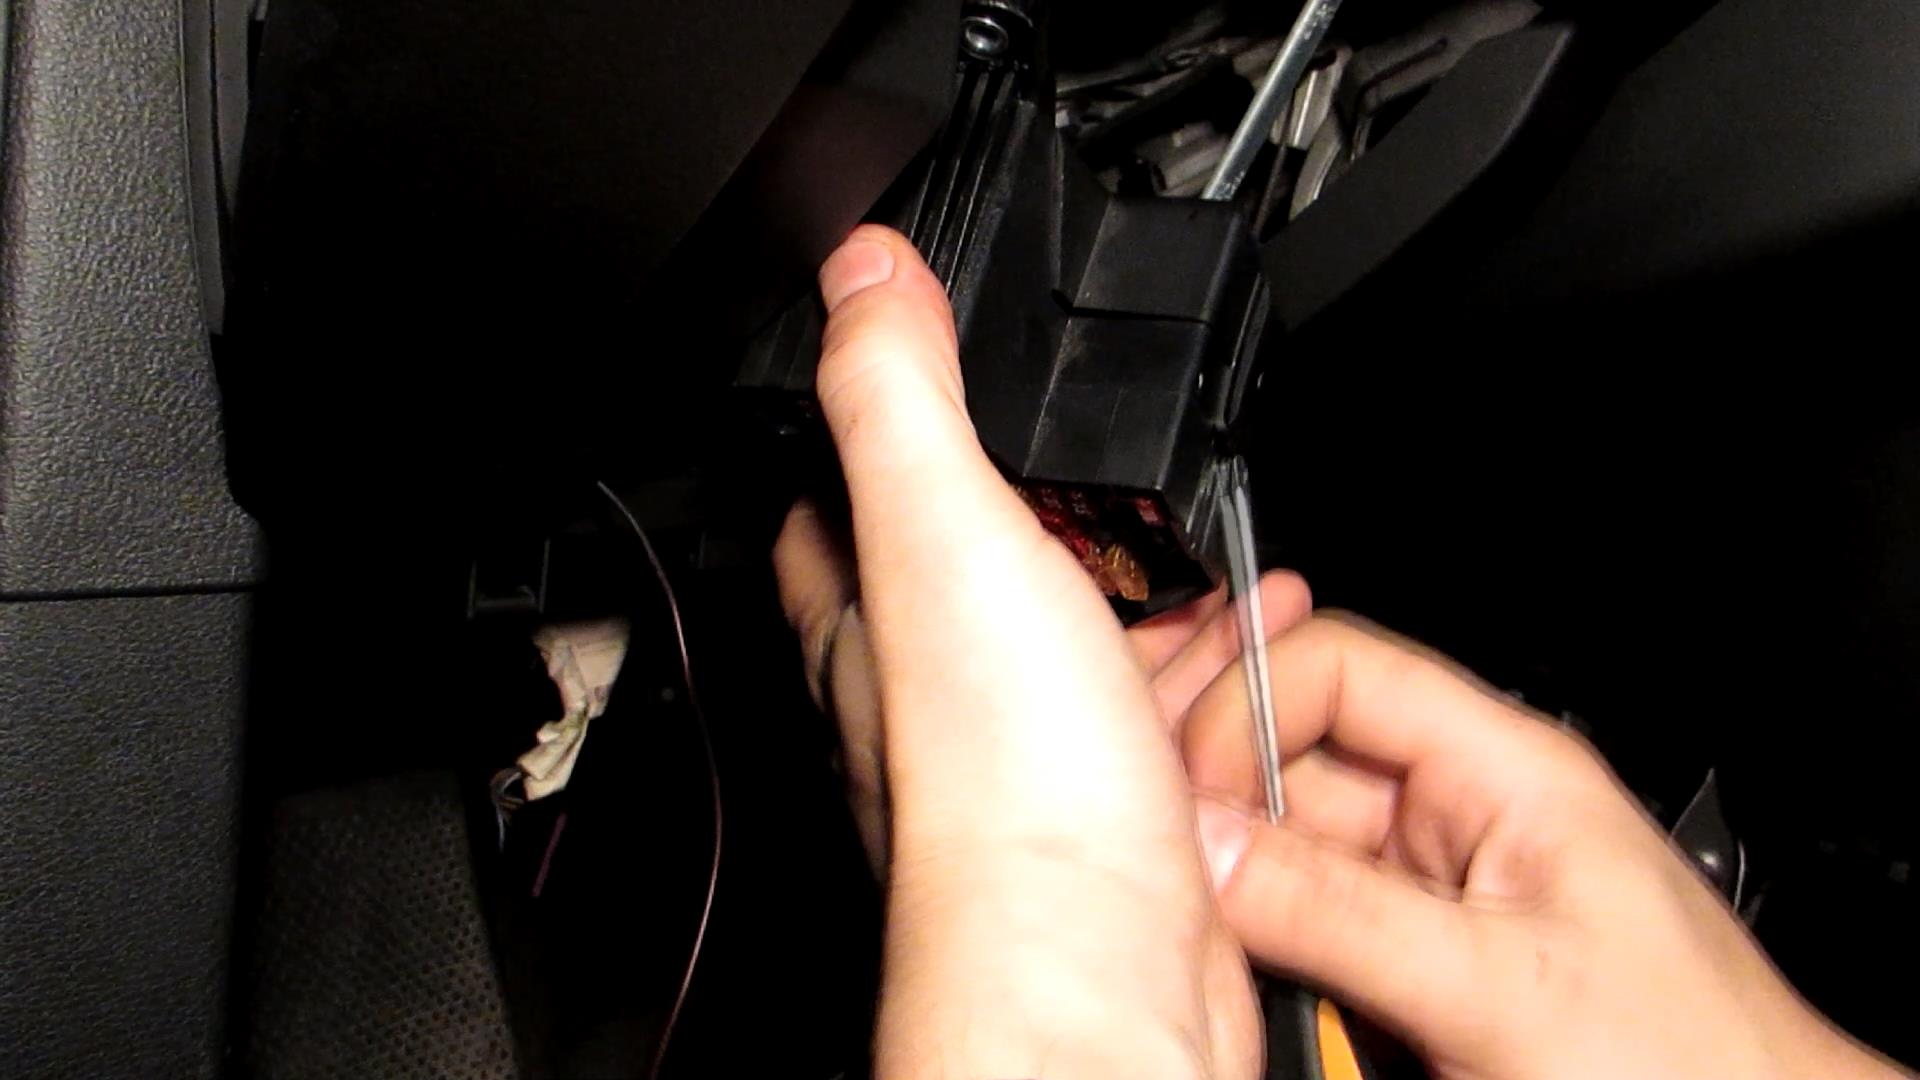
4. Now remove the middle plug with eight pins.


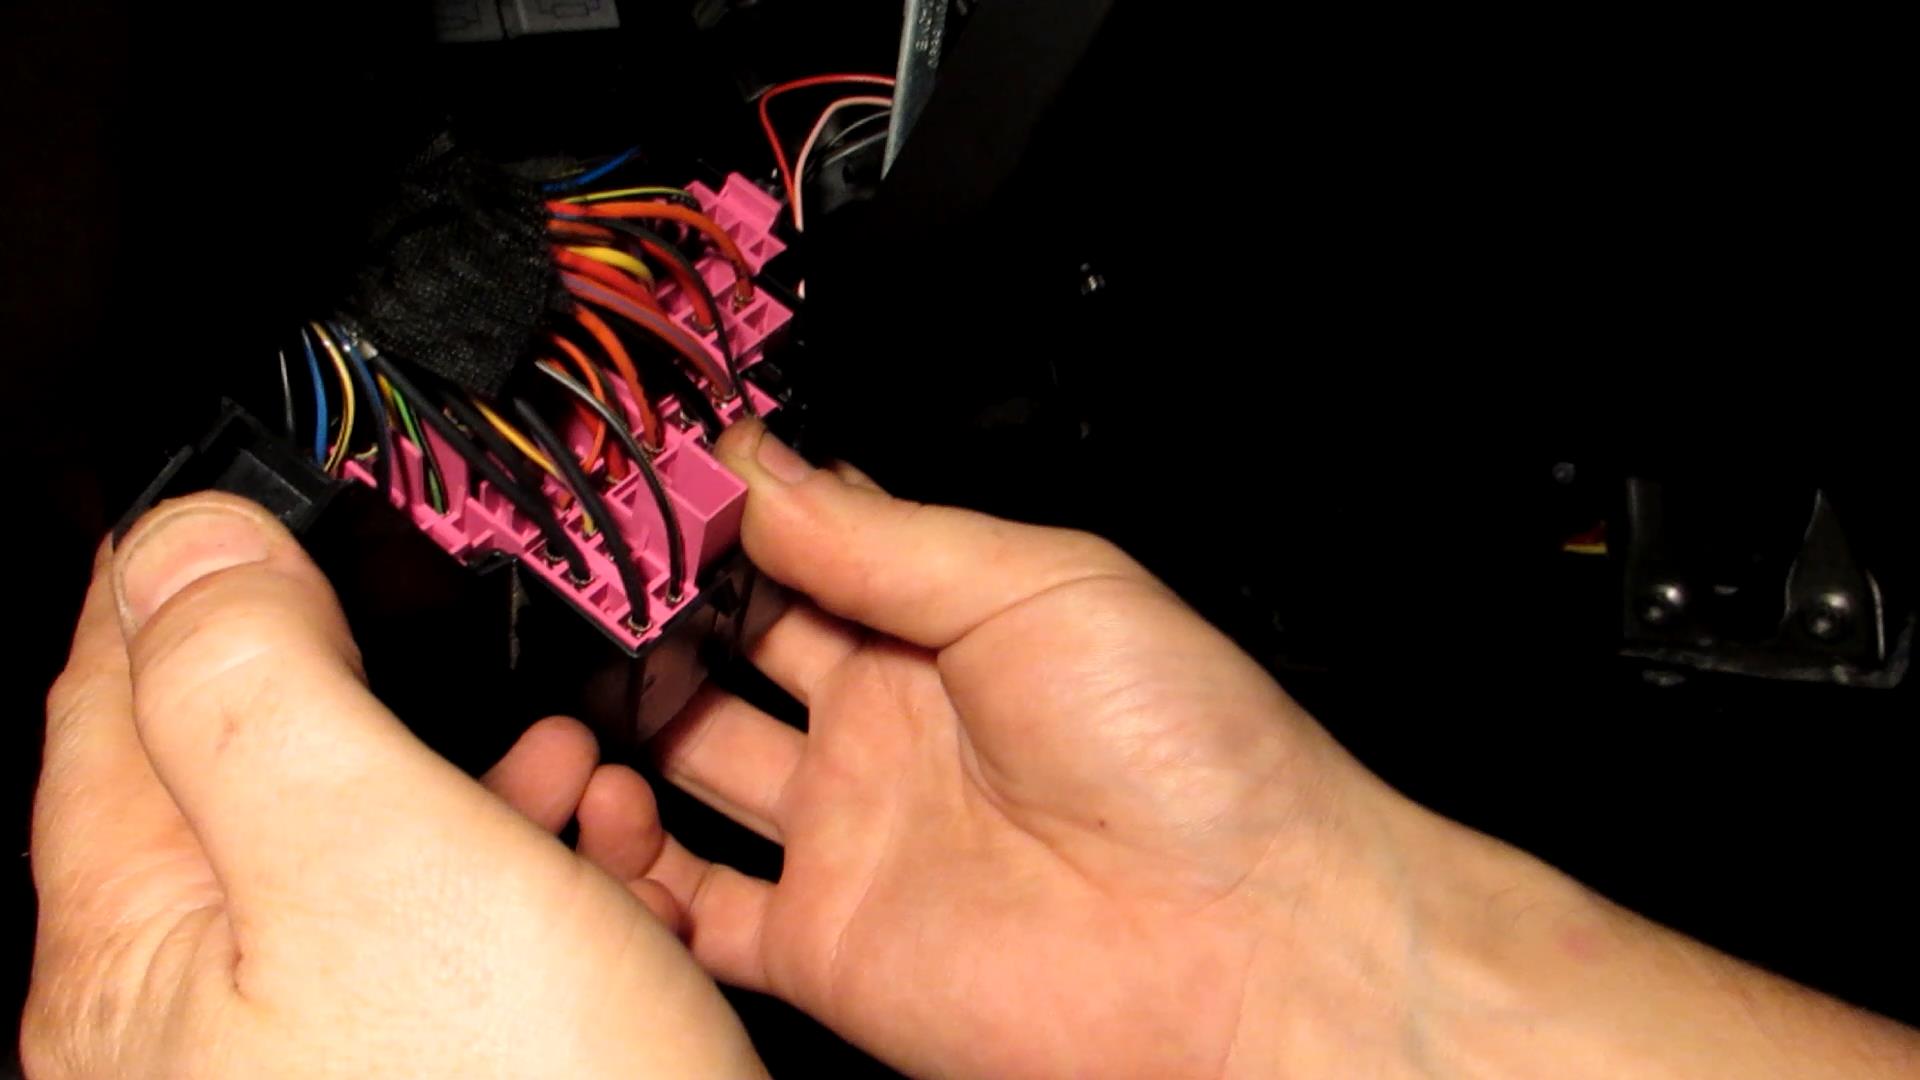
5. In the plug remove the pink retainer.
6. Now use something thin to remove a plug from jack no. 2 (i.e. the second pin jack).
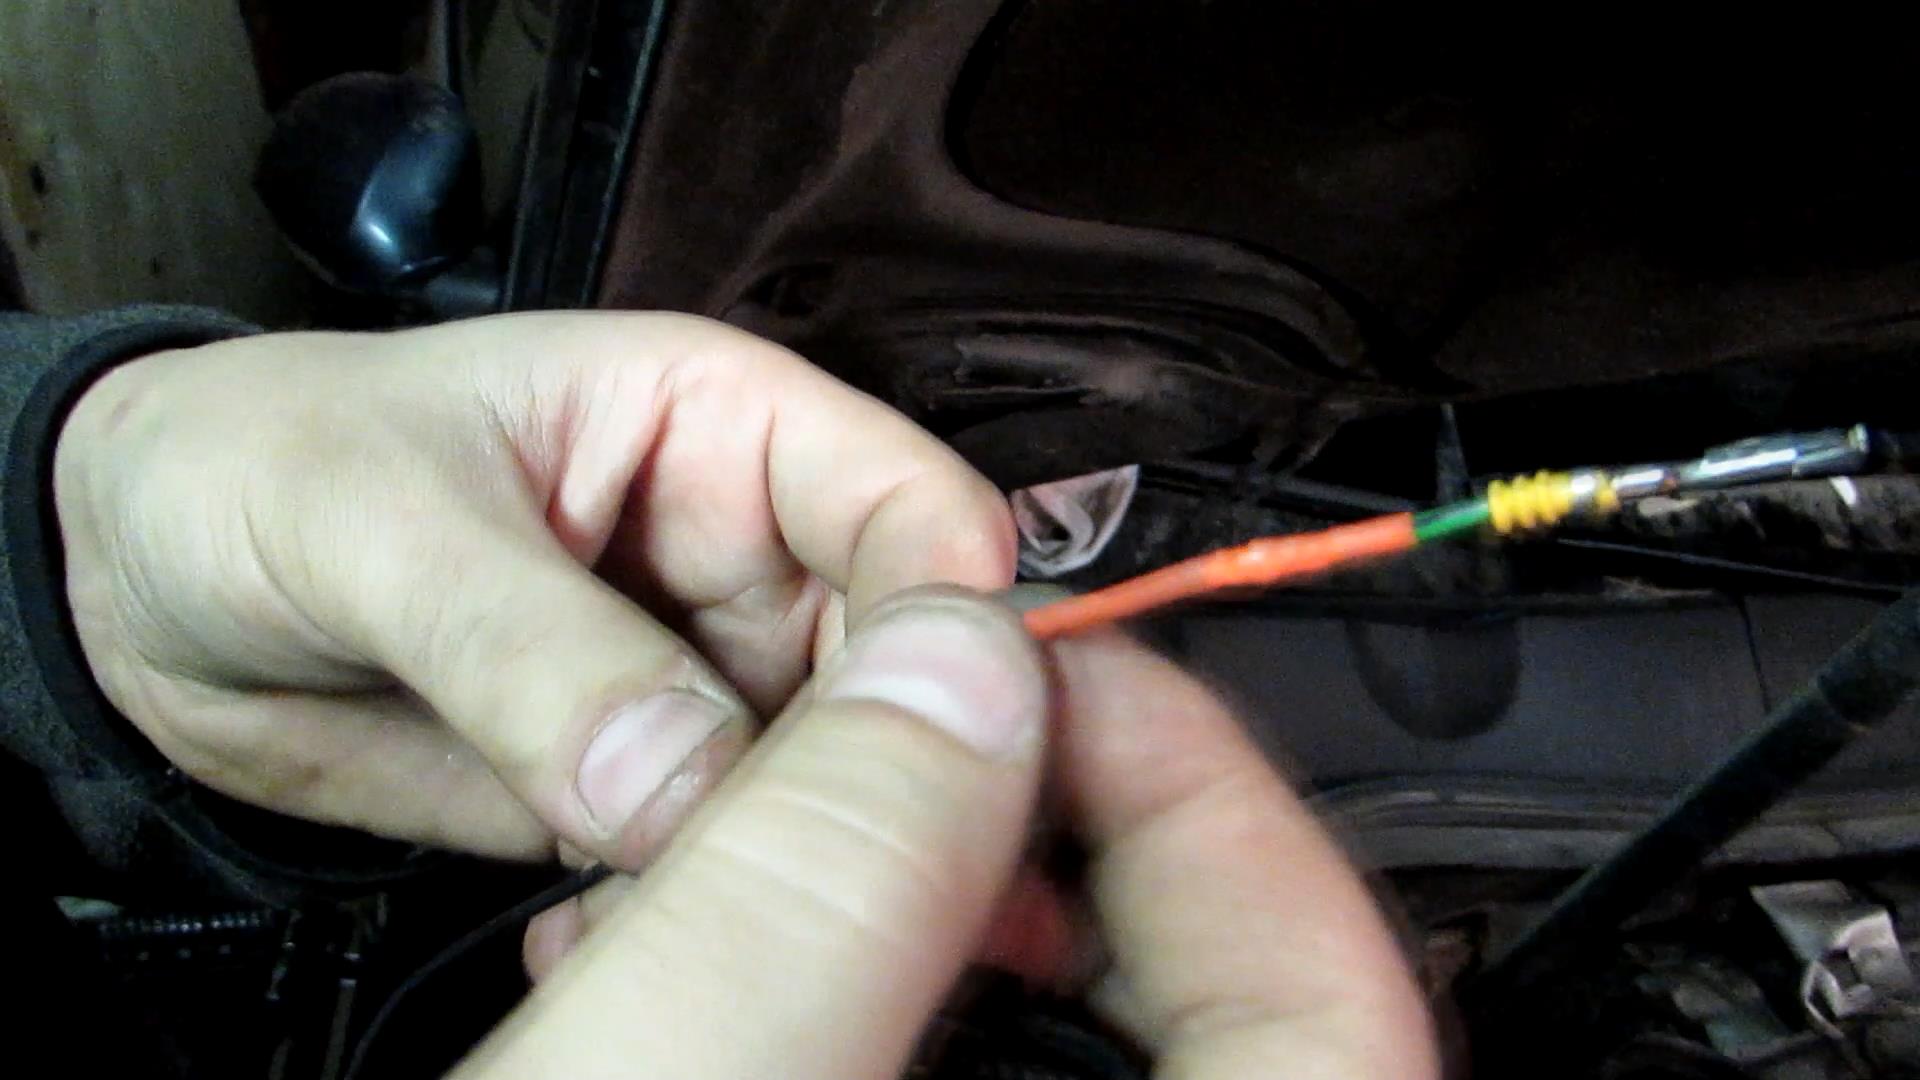
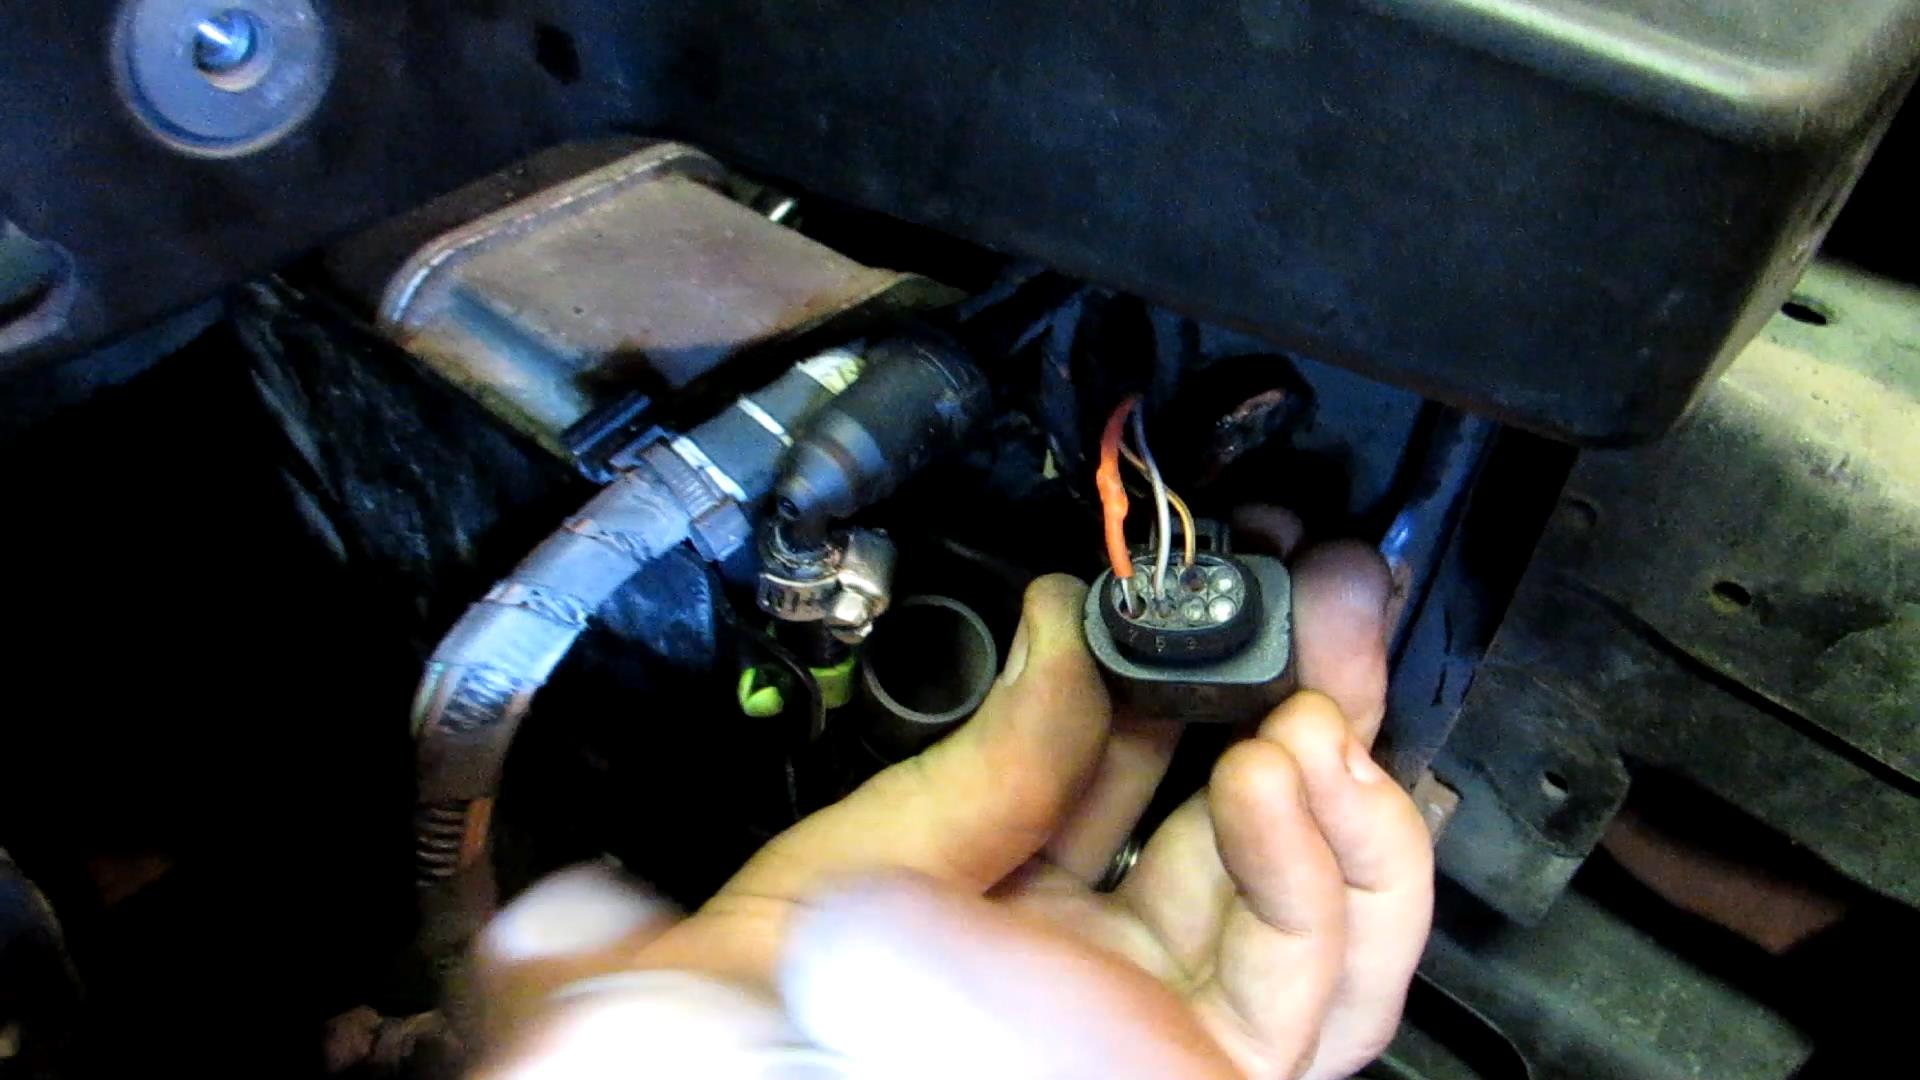
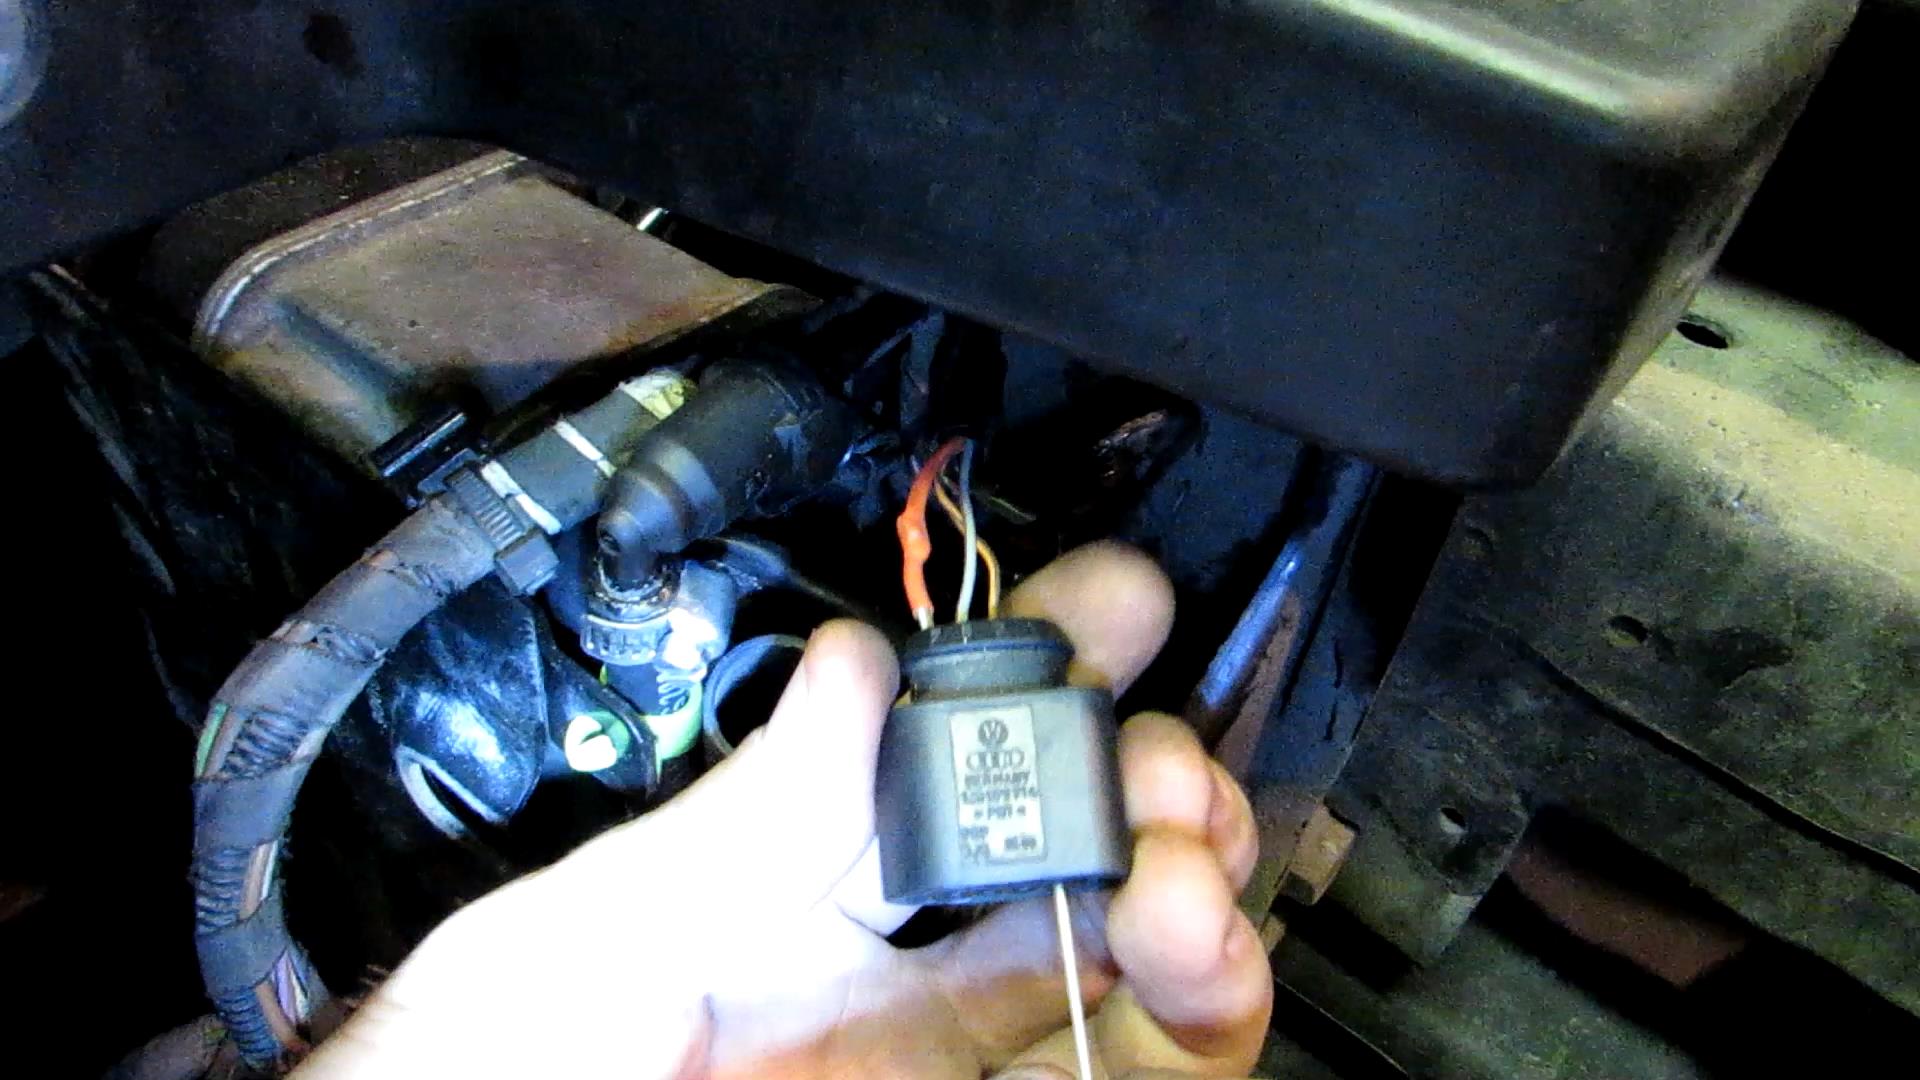
7. Take a long wire and a pin for the plug. We took the 0.75 wire and used the pin from an old plug we had. But you obviously can buy the wire with the pin if needed. Solder everything together and put on the thermal contraction tube.
8. Put our wire into the second jack and put the plug together.

9. Pull the wire through the corrugated tube into the interior and secure it using electrical tape or small retainers. You can also hide the wire in the corrugated tube.
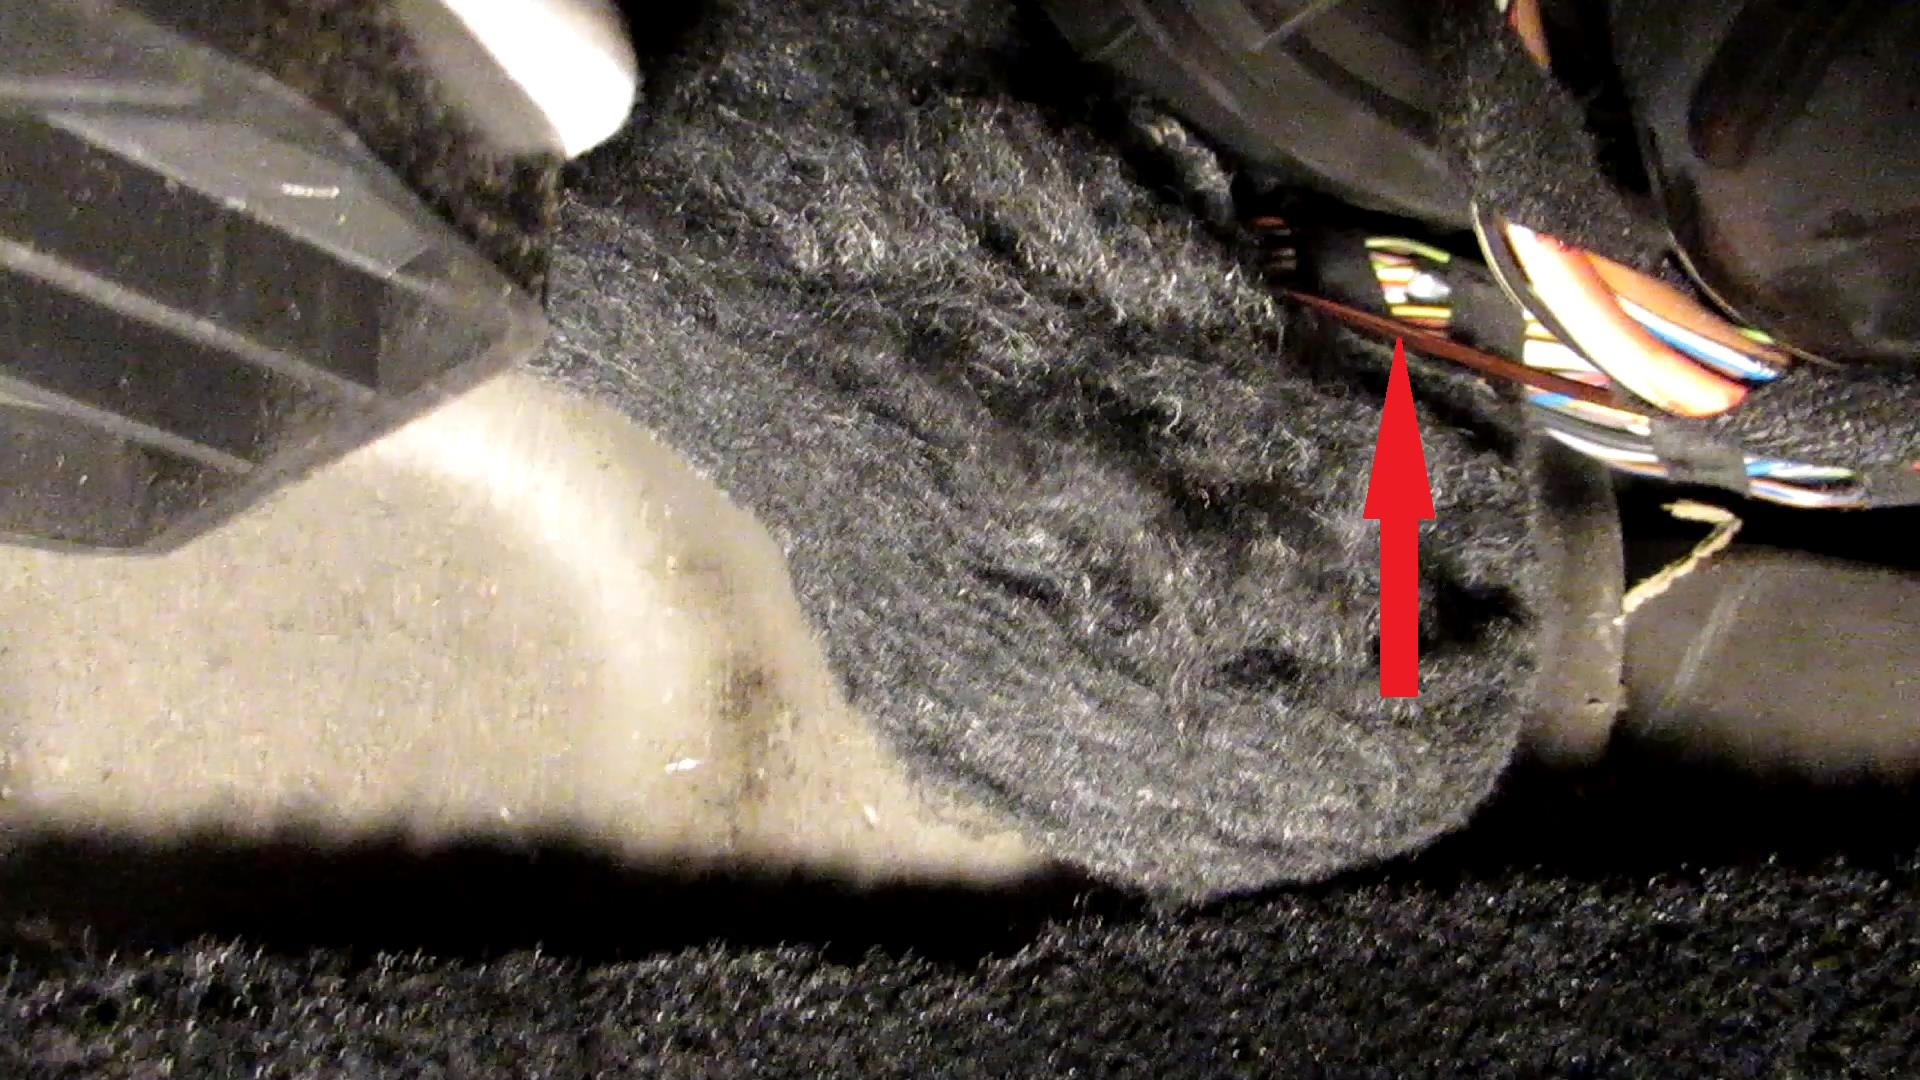
10. Now get inside the car from the passenger's side. Take the wire fro the cable. Remove the cover of the air filter and pull the wire next to the cabin wires to the engine compartment.Connect the wires and pull them into the cabin.
11. Remove the side cover by unscrewing the only six lobe drive (TORX) and pull it down.Pull the wire along the harnesses to the driver's side.
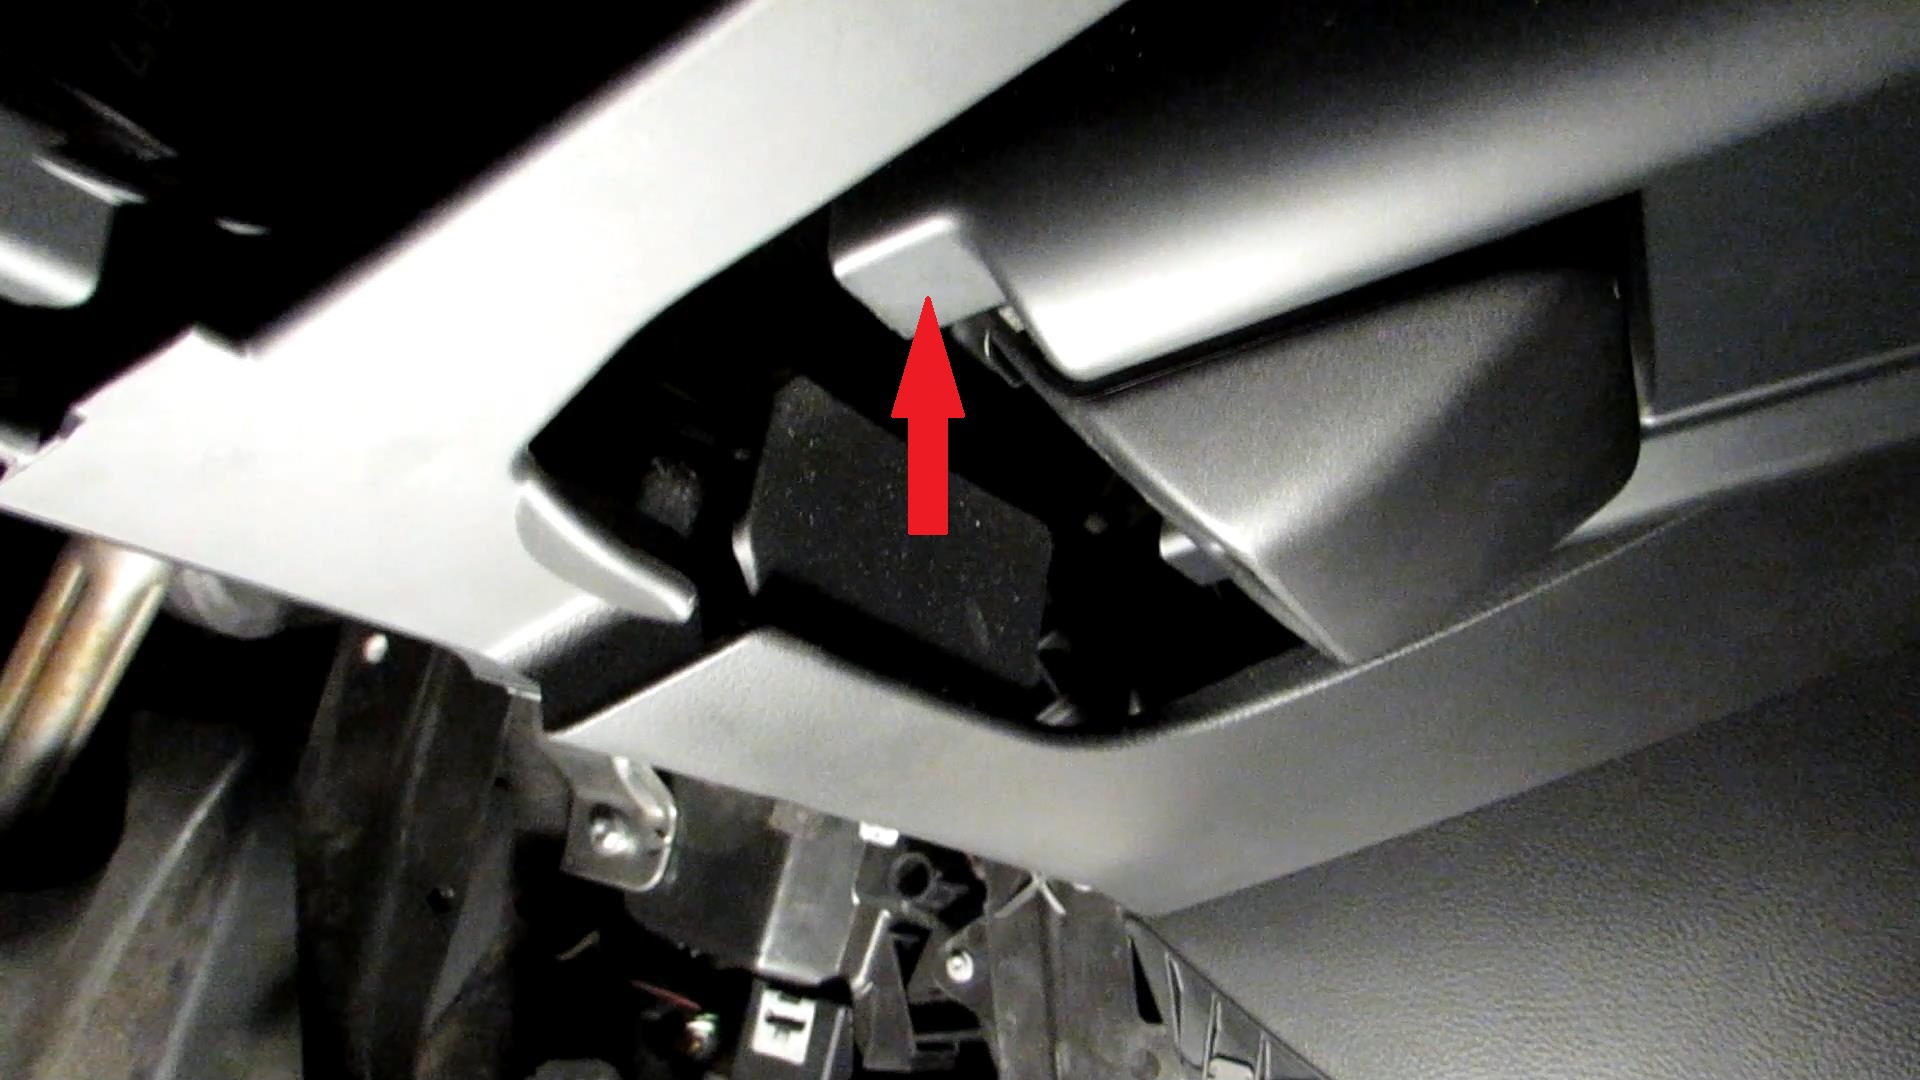
12. Now go to the driver's side and remove the same kind of the cover.13. Remove the small glove box. Open it and push the retainer from the top. Once it is out of the retainer, pull it to yourself.
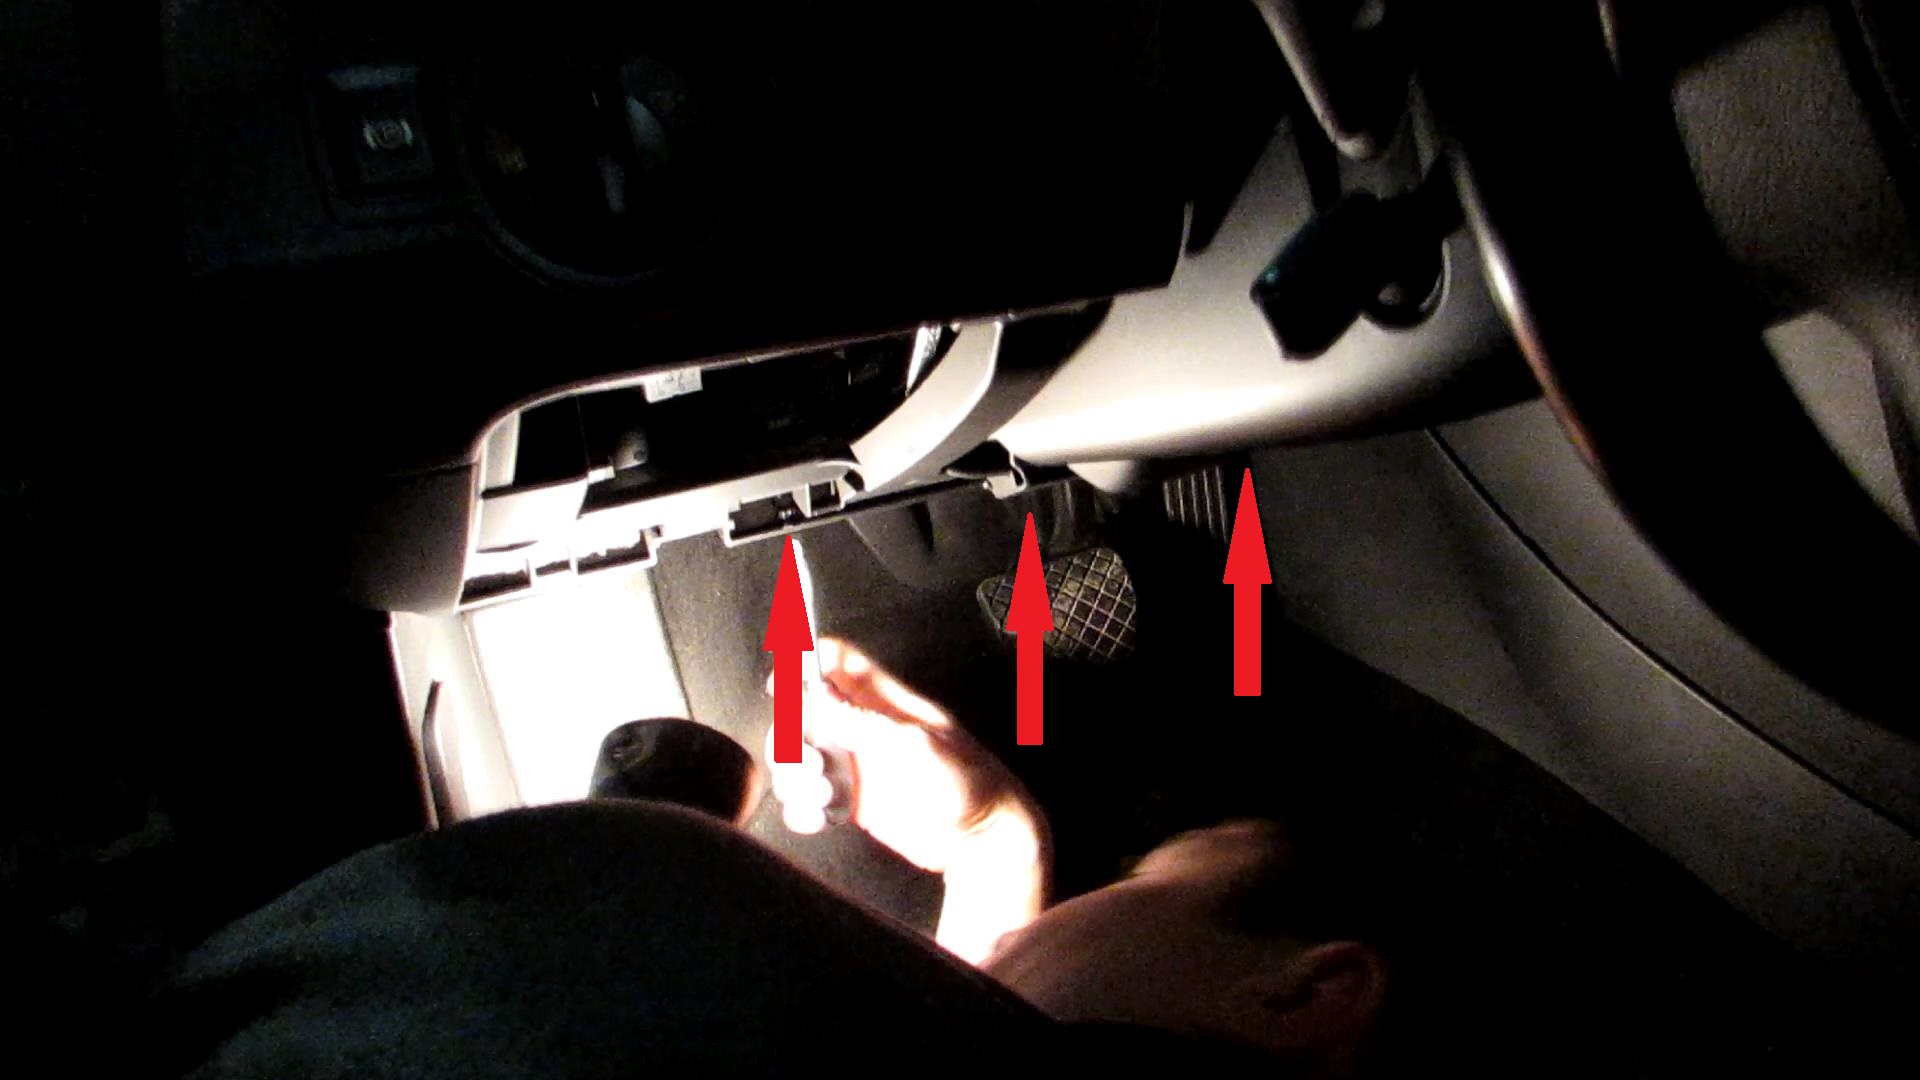
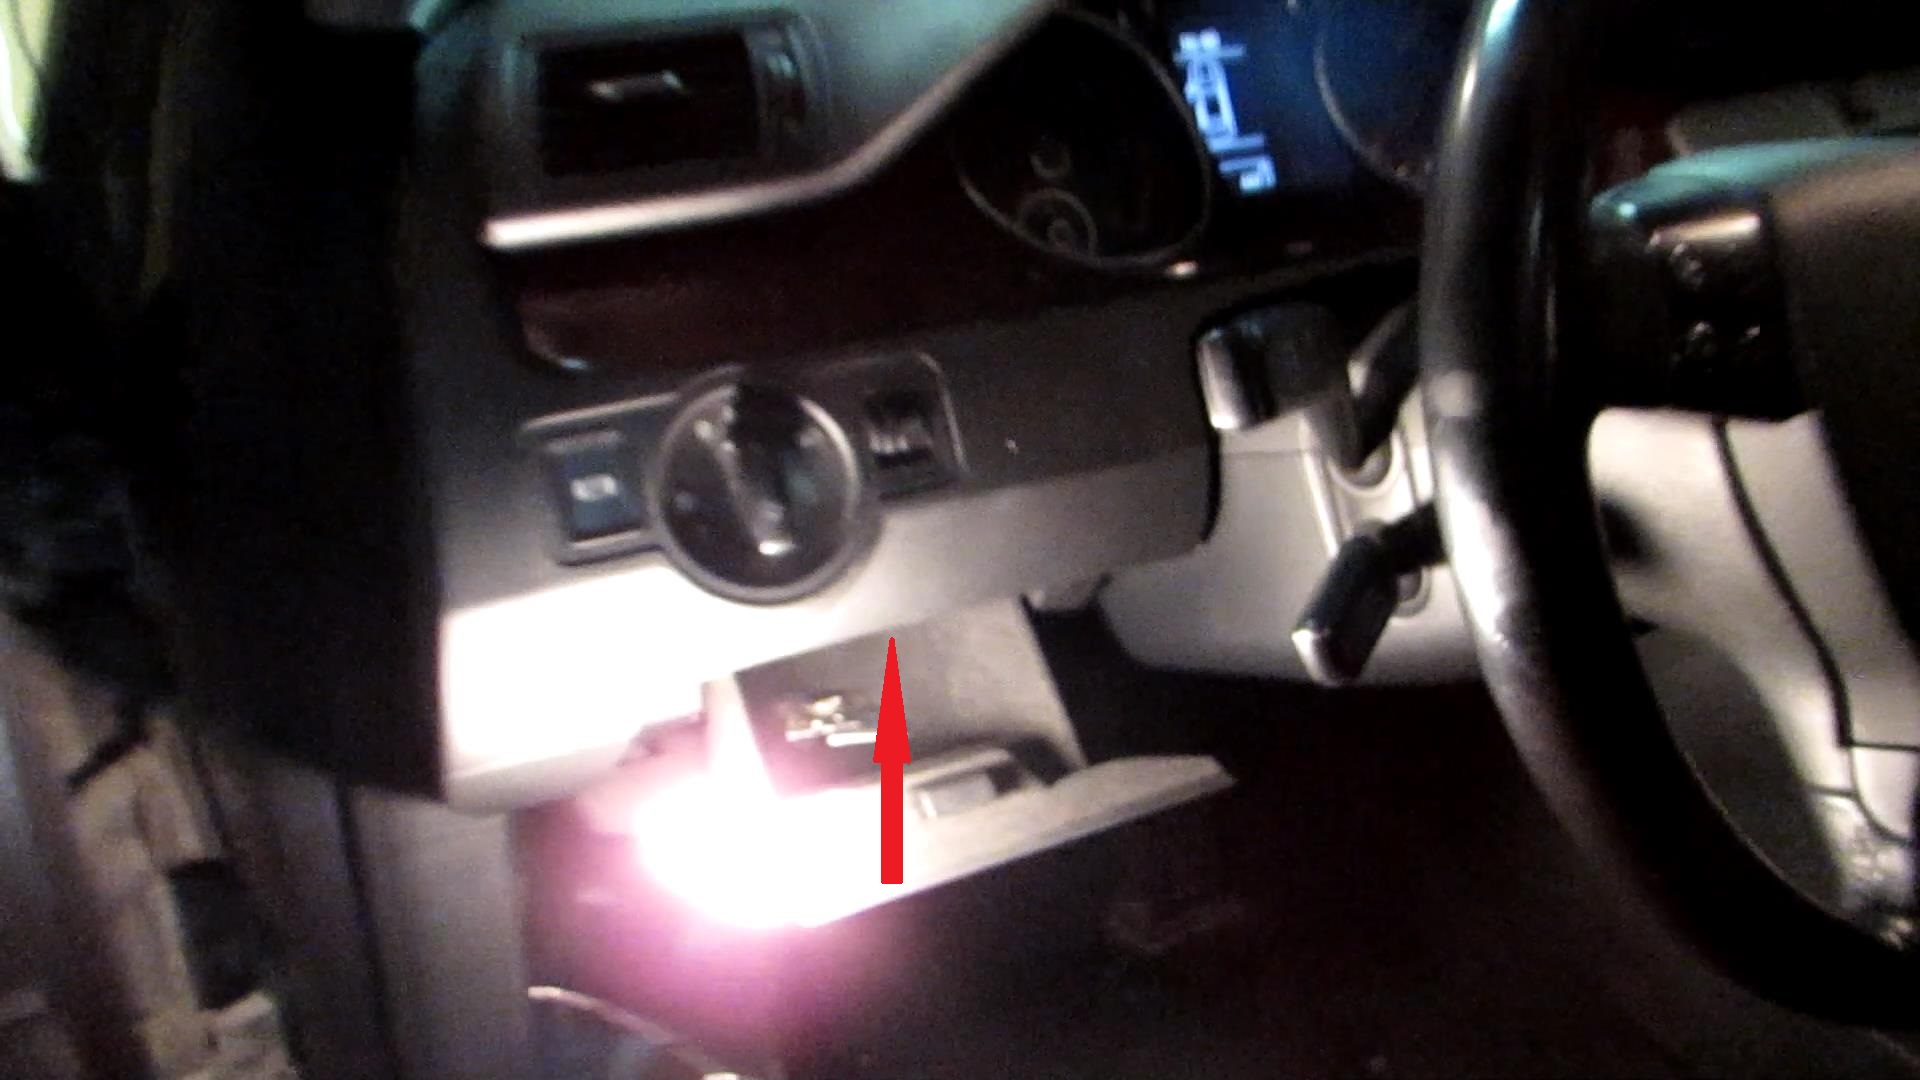
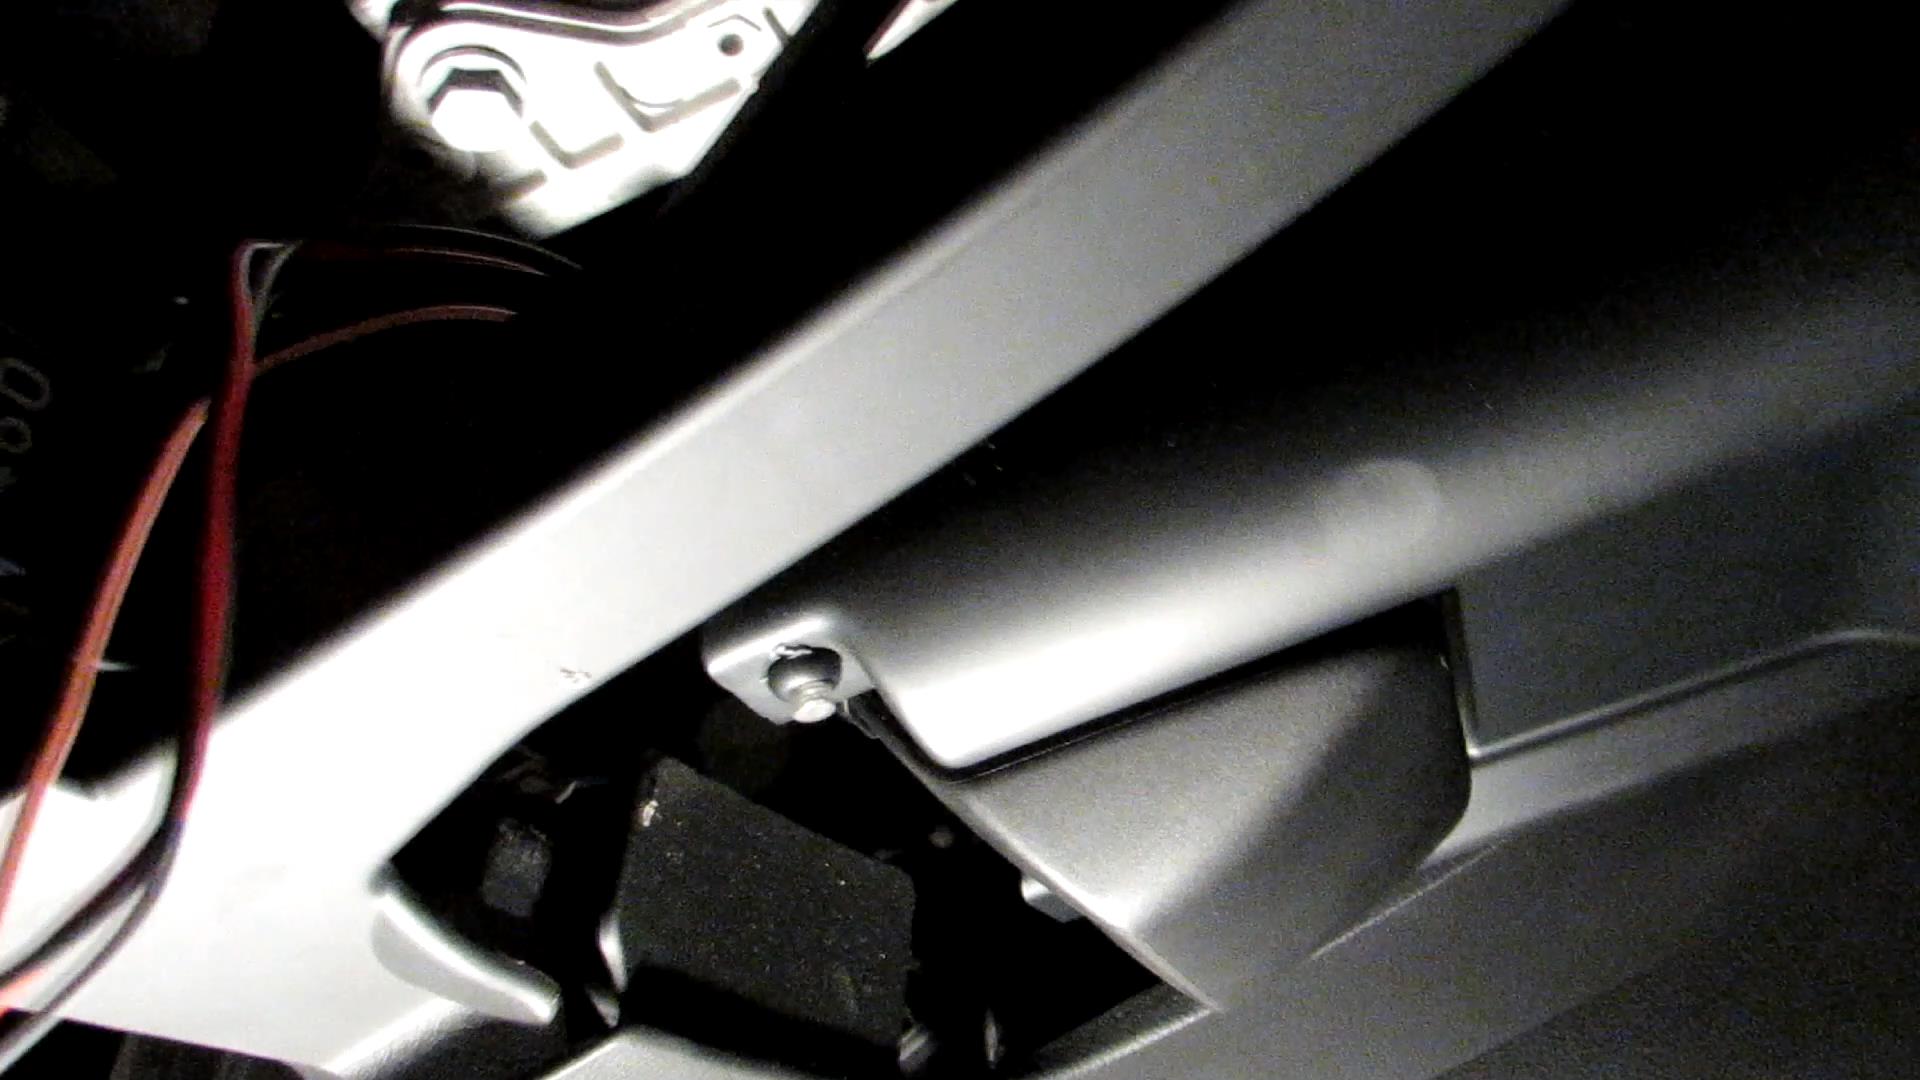
14. Remove the cover from under the steering wheel. Unscrew three six lobe drives and pull down. Then, in order to avoid disturbances, disconnect the diagnostics outlet and footwell lighting.
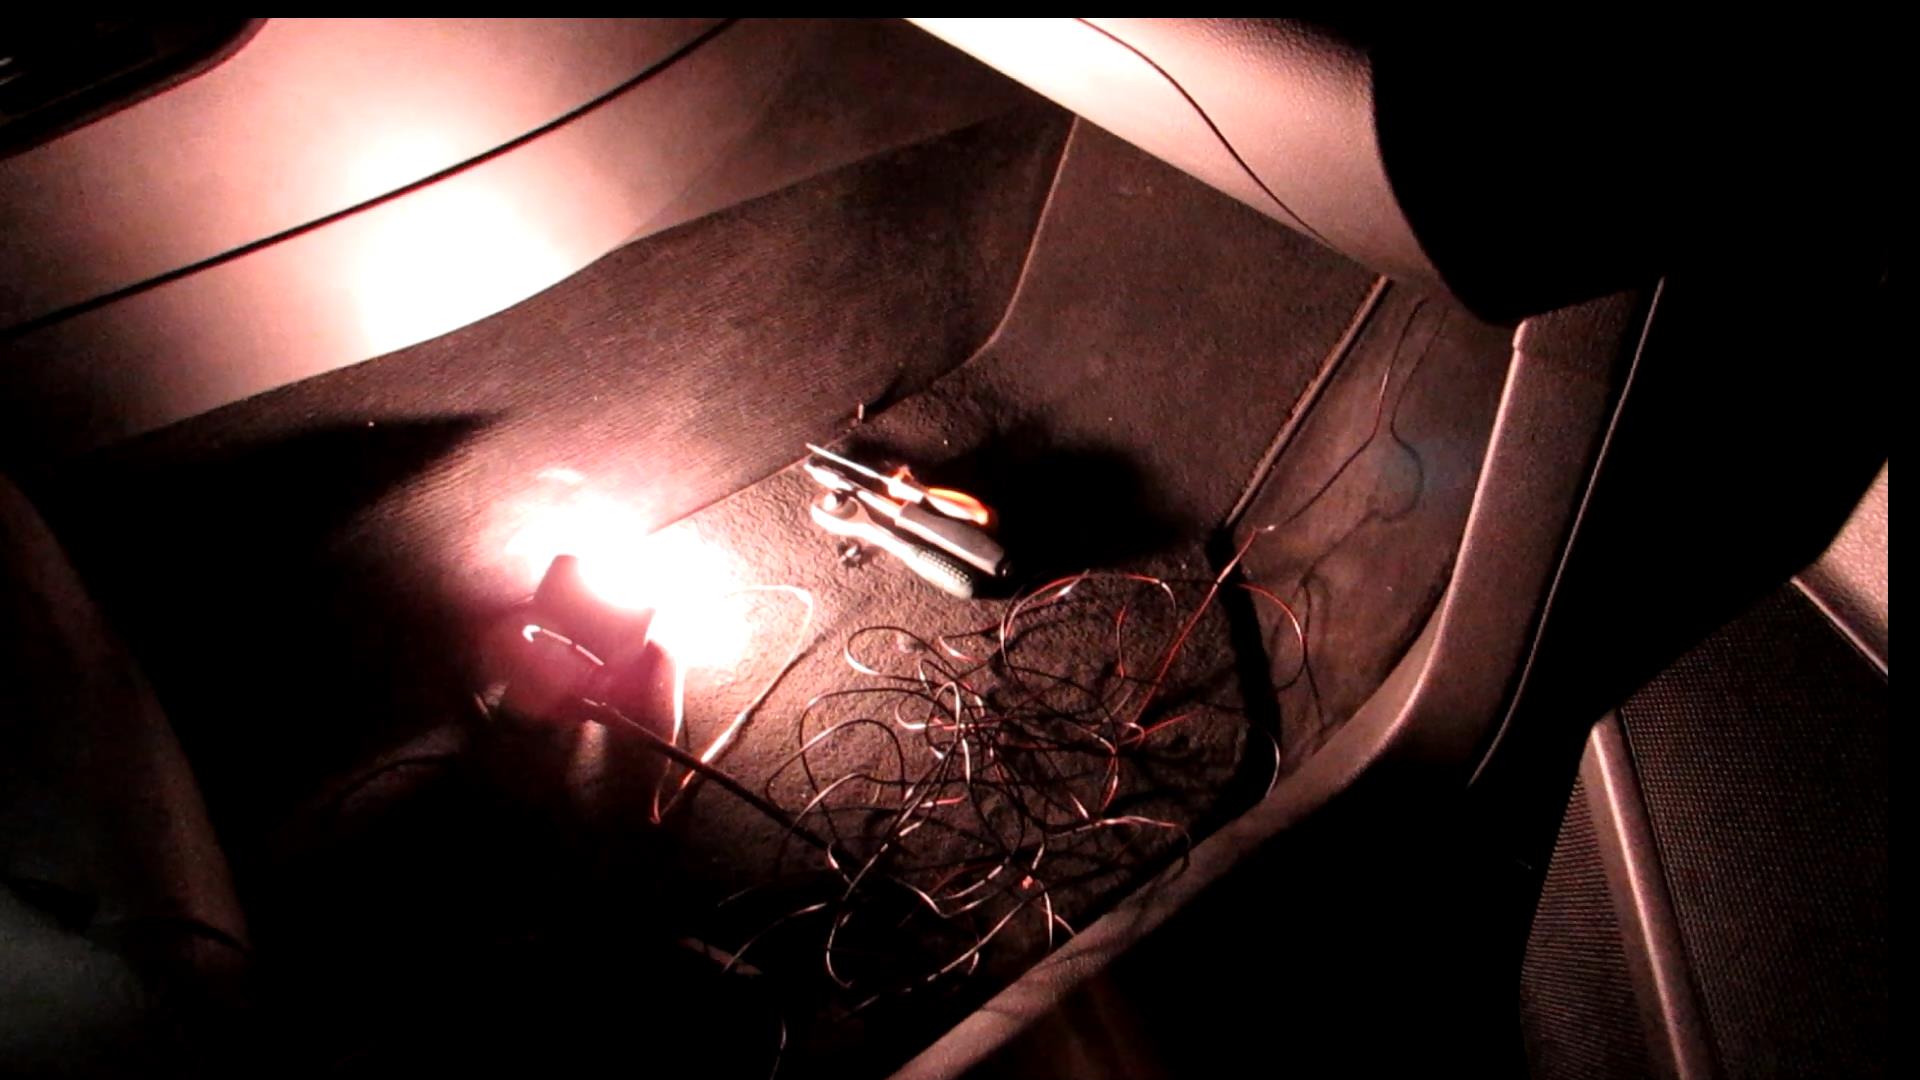
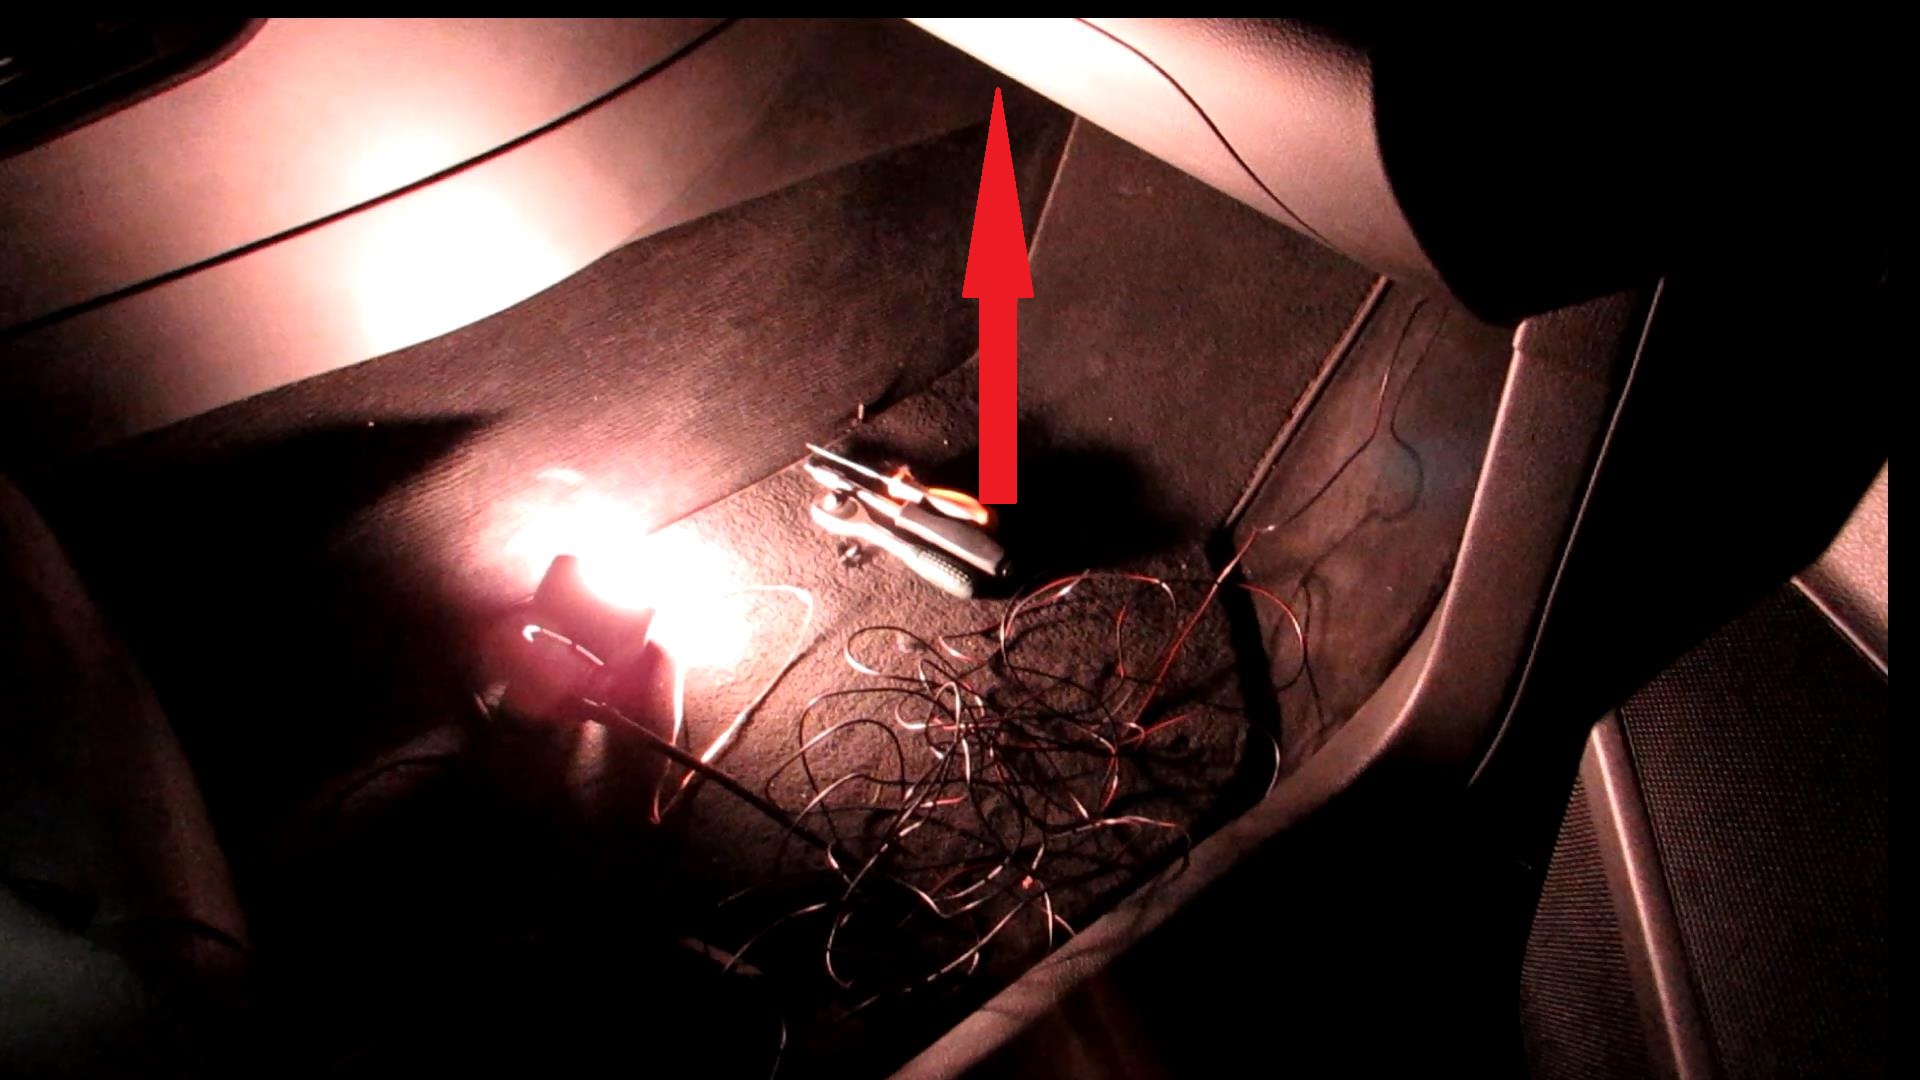
15. Now install LED button. We chose the place under the steering wheel so that it does not stand out too much. Use an 8 mm drill bit to drill a hole.
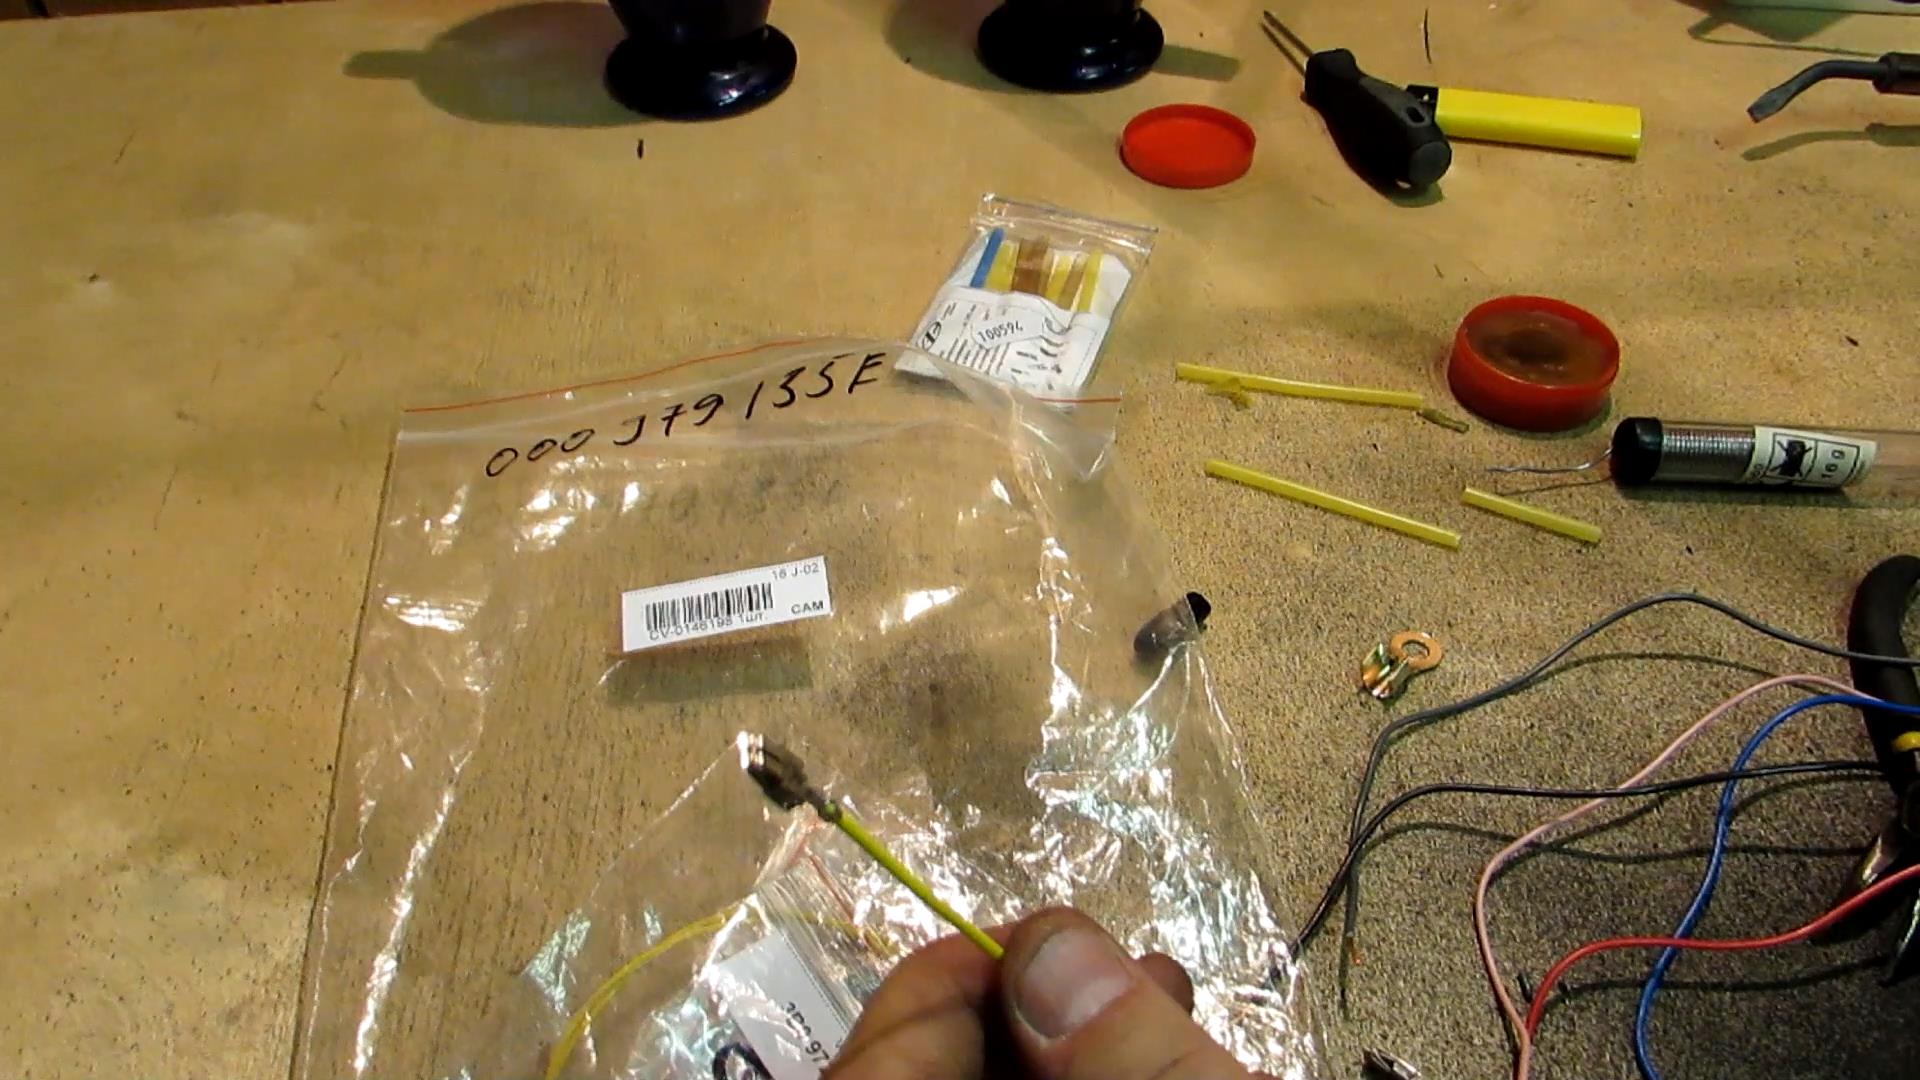
16. Take a wire with the pin for the fuse panel. We got a wire 000979135E and cut it in half, later we will connect the other half to the module's and LED button's plus.
17. Connect all wires with the button and our wire that we pulled from Webasto device in accordance with manual. The manual does not provide information about connecting the button. Its wires have the same colors as the wires that need to be connected to it. Solder everything together, put on the thermal contraction tube and pull everything along the harnesses up to the fuse panel.
18. Minus wires are connected to the screw of the dashboard near the glove box.

19. Remove the fuse panel.a) Open the cover.

b) Now unscrew two screws that secure the panel and pull the panel into interior.
c) Open the back cover of the panel by opening the retainers along all sides.
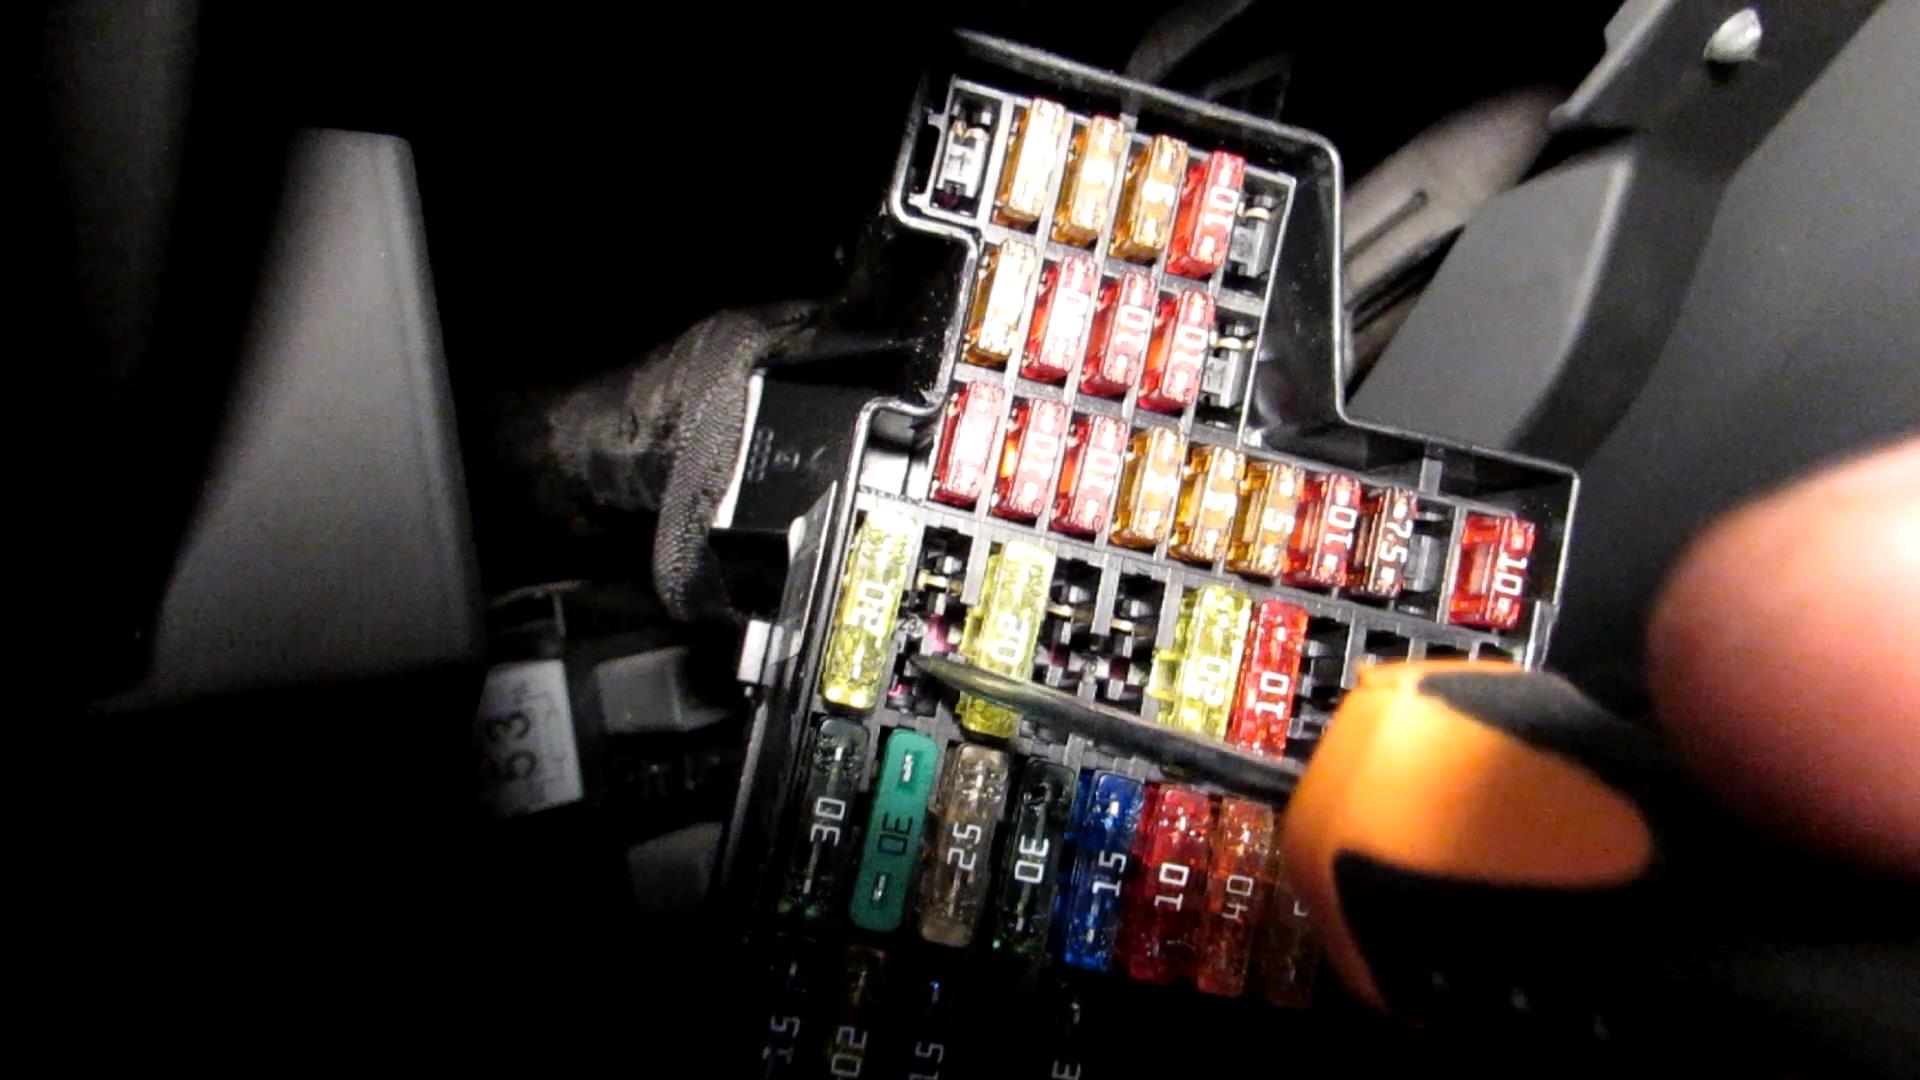
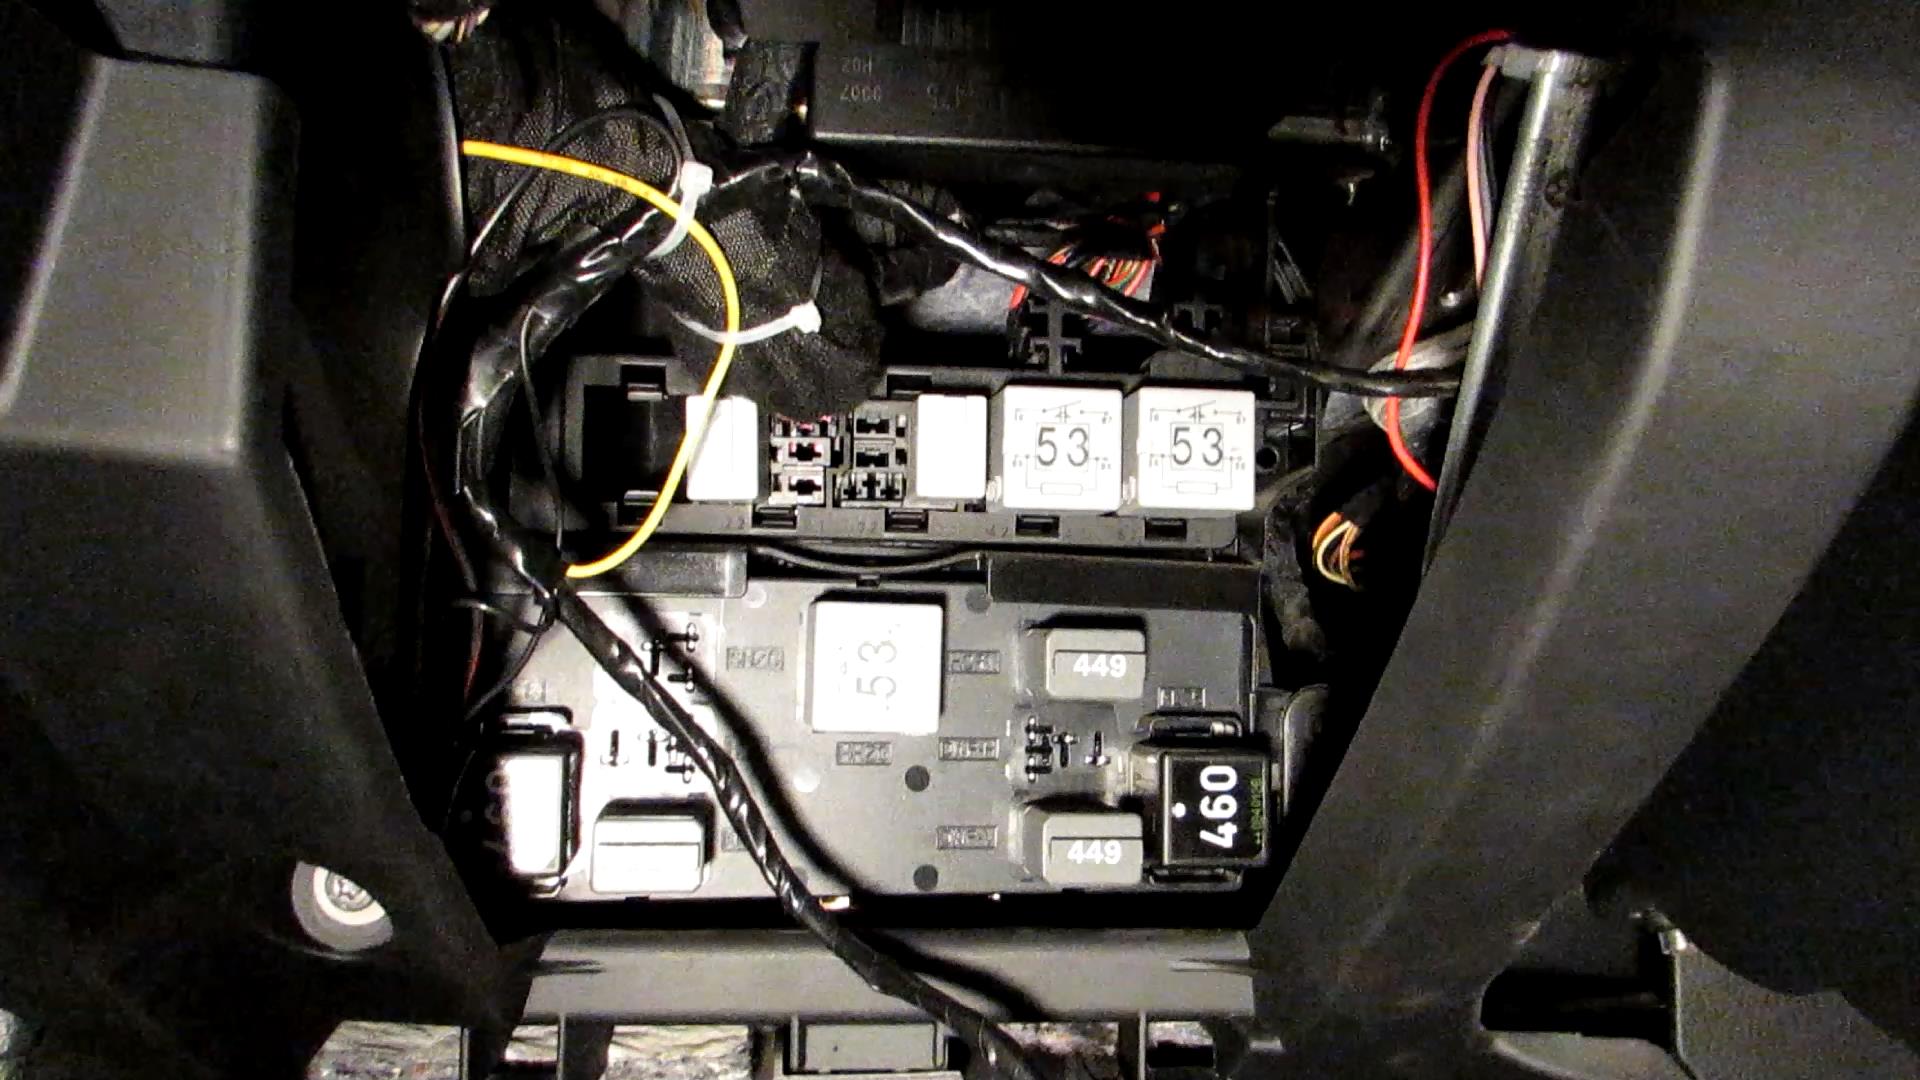
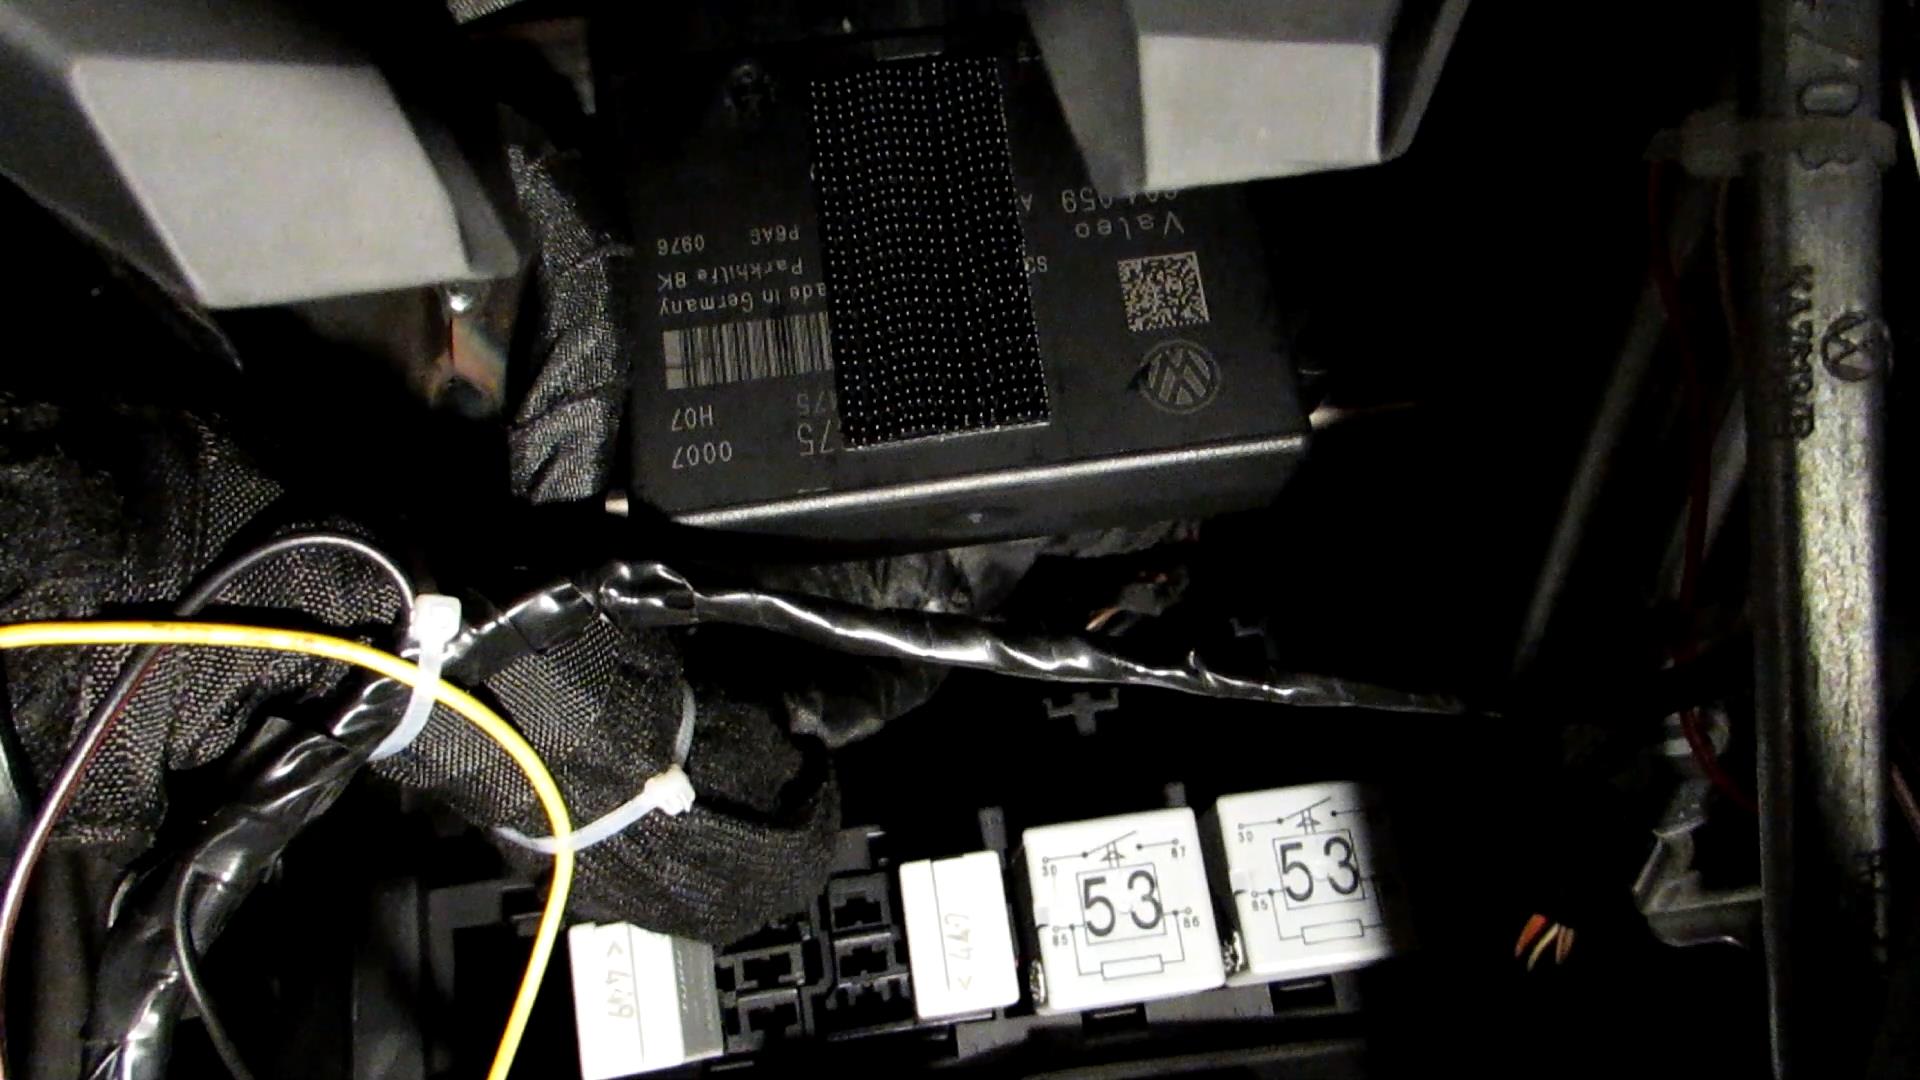
20. Now look for a permanent plus. We found it in unoccupied slots under number 23.
Search on the back side where to put our wire and put it inside. Now assemble the fuse panel and put it in place.
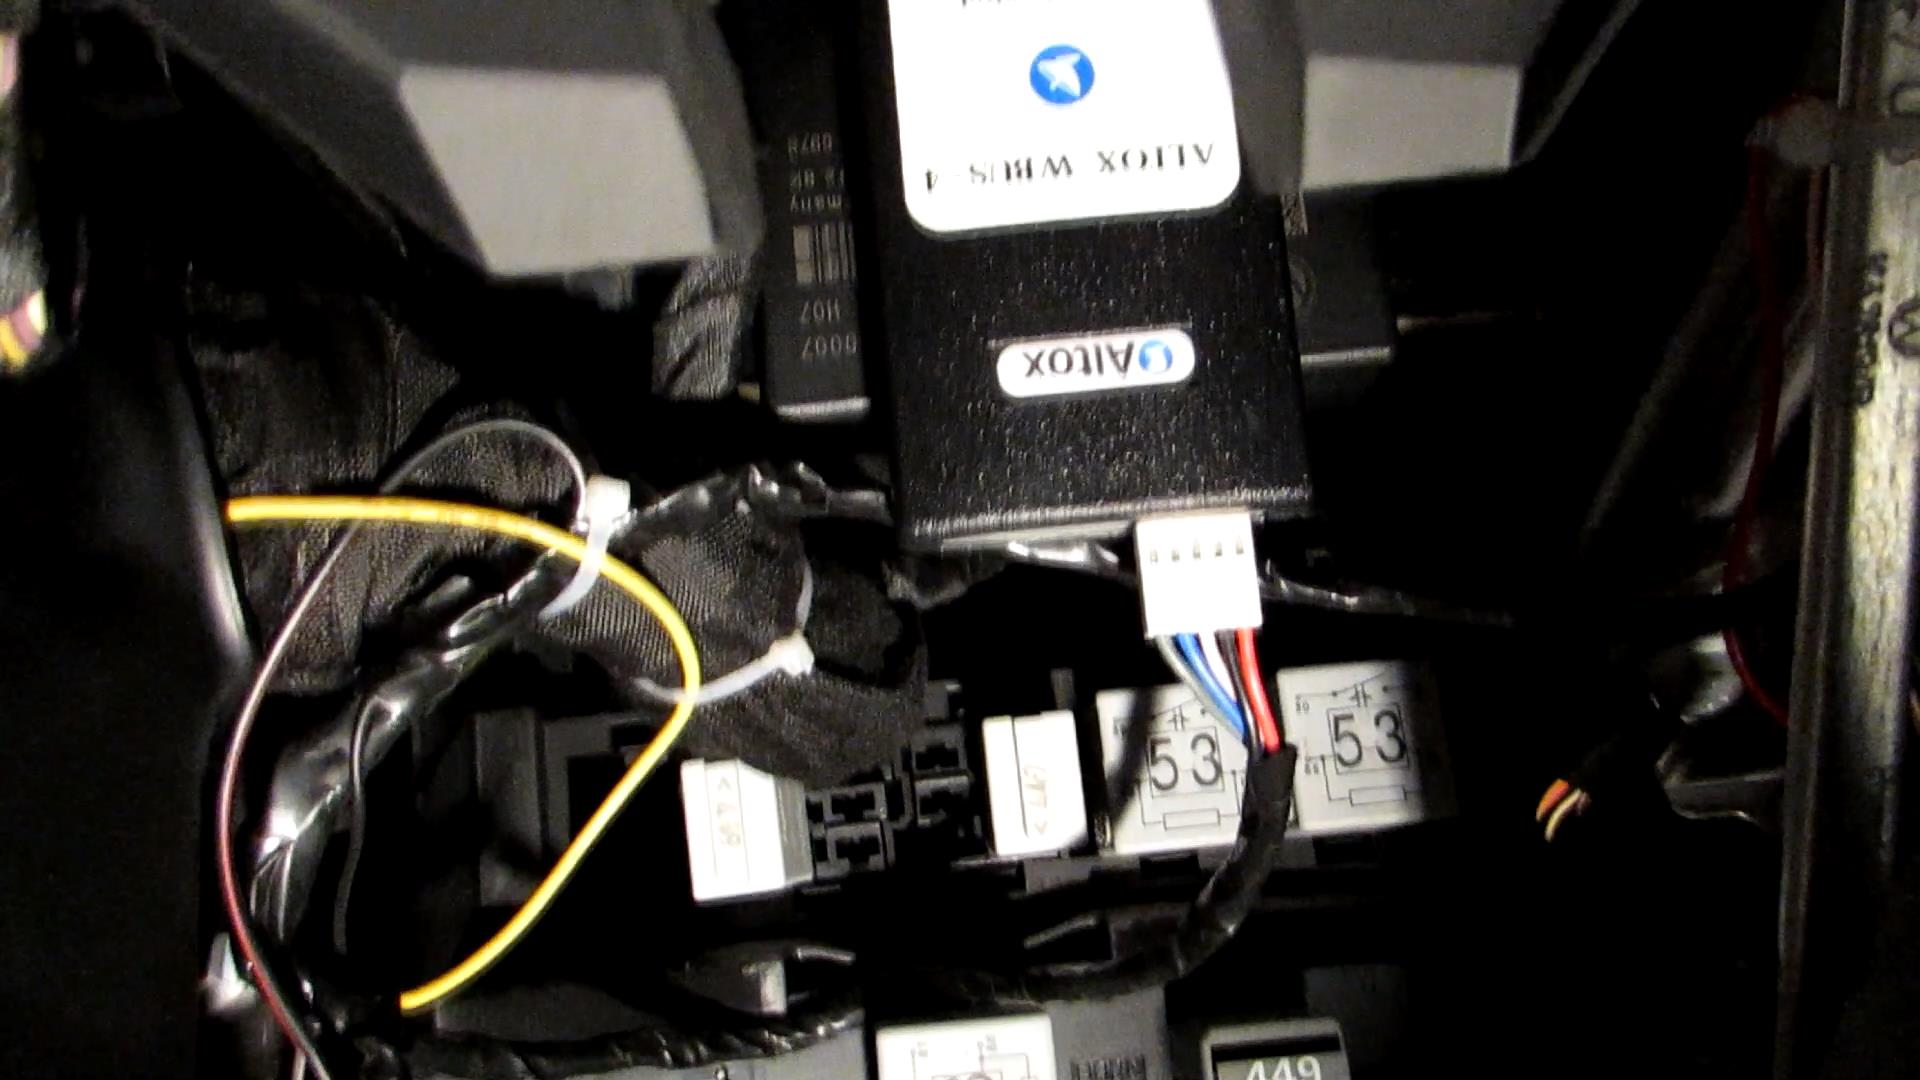
21. ТNow it is time to connect the module and glue it into an unexposed place. However, you should keep in mind that you should have an easy access to that if you need to replace a SIM card. It takes a few seconds to remove the glove box, so behind this box is a good place. Glue on side of the tape from the package on the module, and the other one – on the unit above relays unit. Make sure that it will not prevent the glove box from closing.
That's all. Now put the SIM card inside, set up the module using text messages (SMS) according to our requirements. The manual has a thorough description of all instructions/commands. Check if everything is working and assemble it together. If you did not understand something properly, see the video about the installation.Good luck, lots of comfort and warmth in winter!